BSO Decorator Showhouse 2013

IMG_4461

IMG_4461

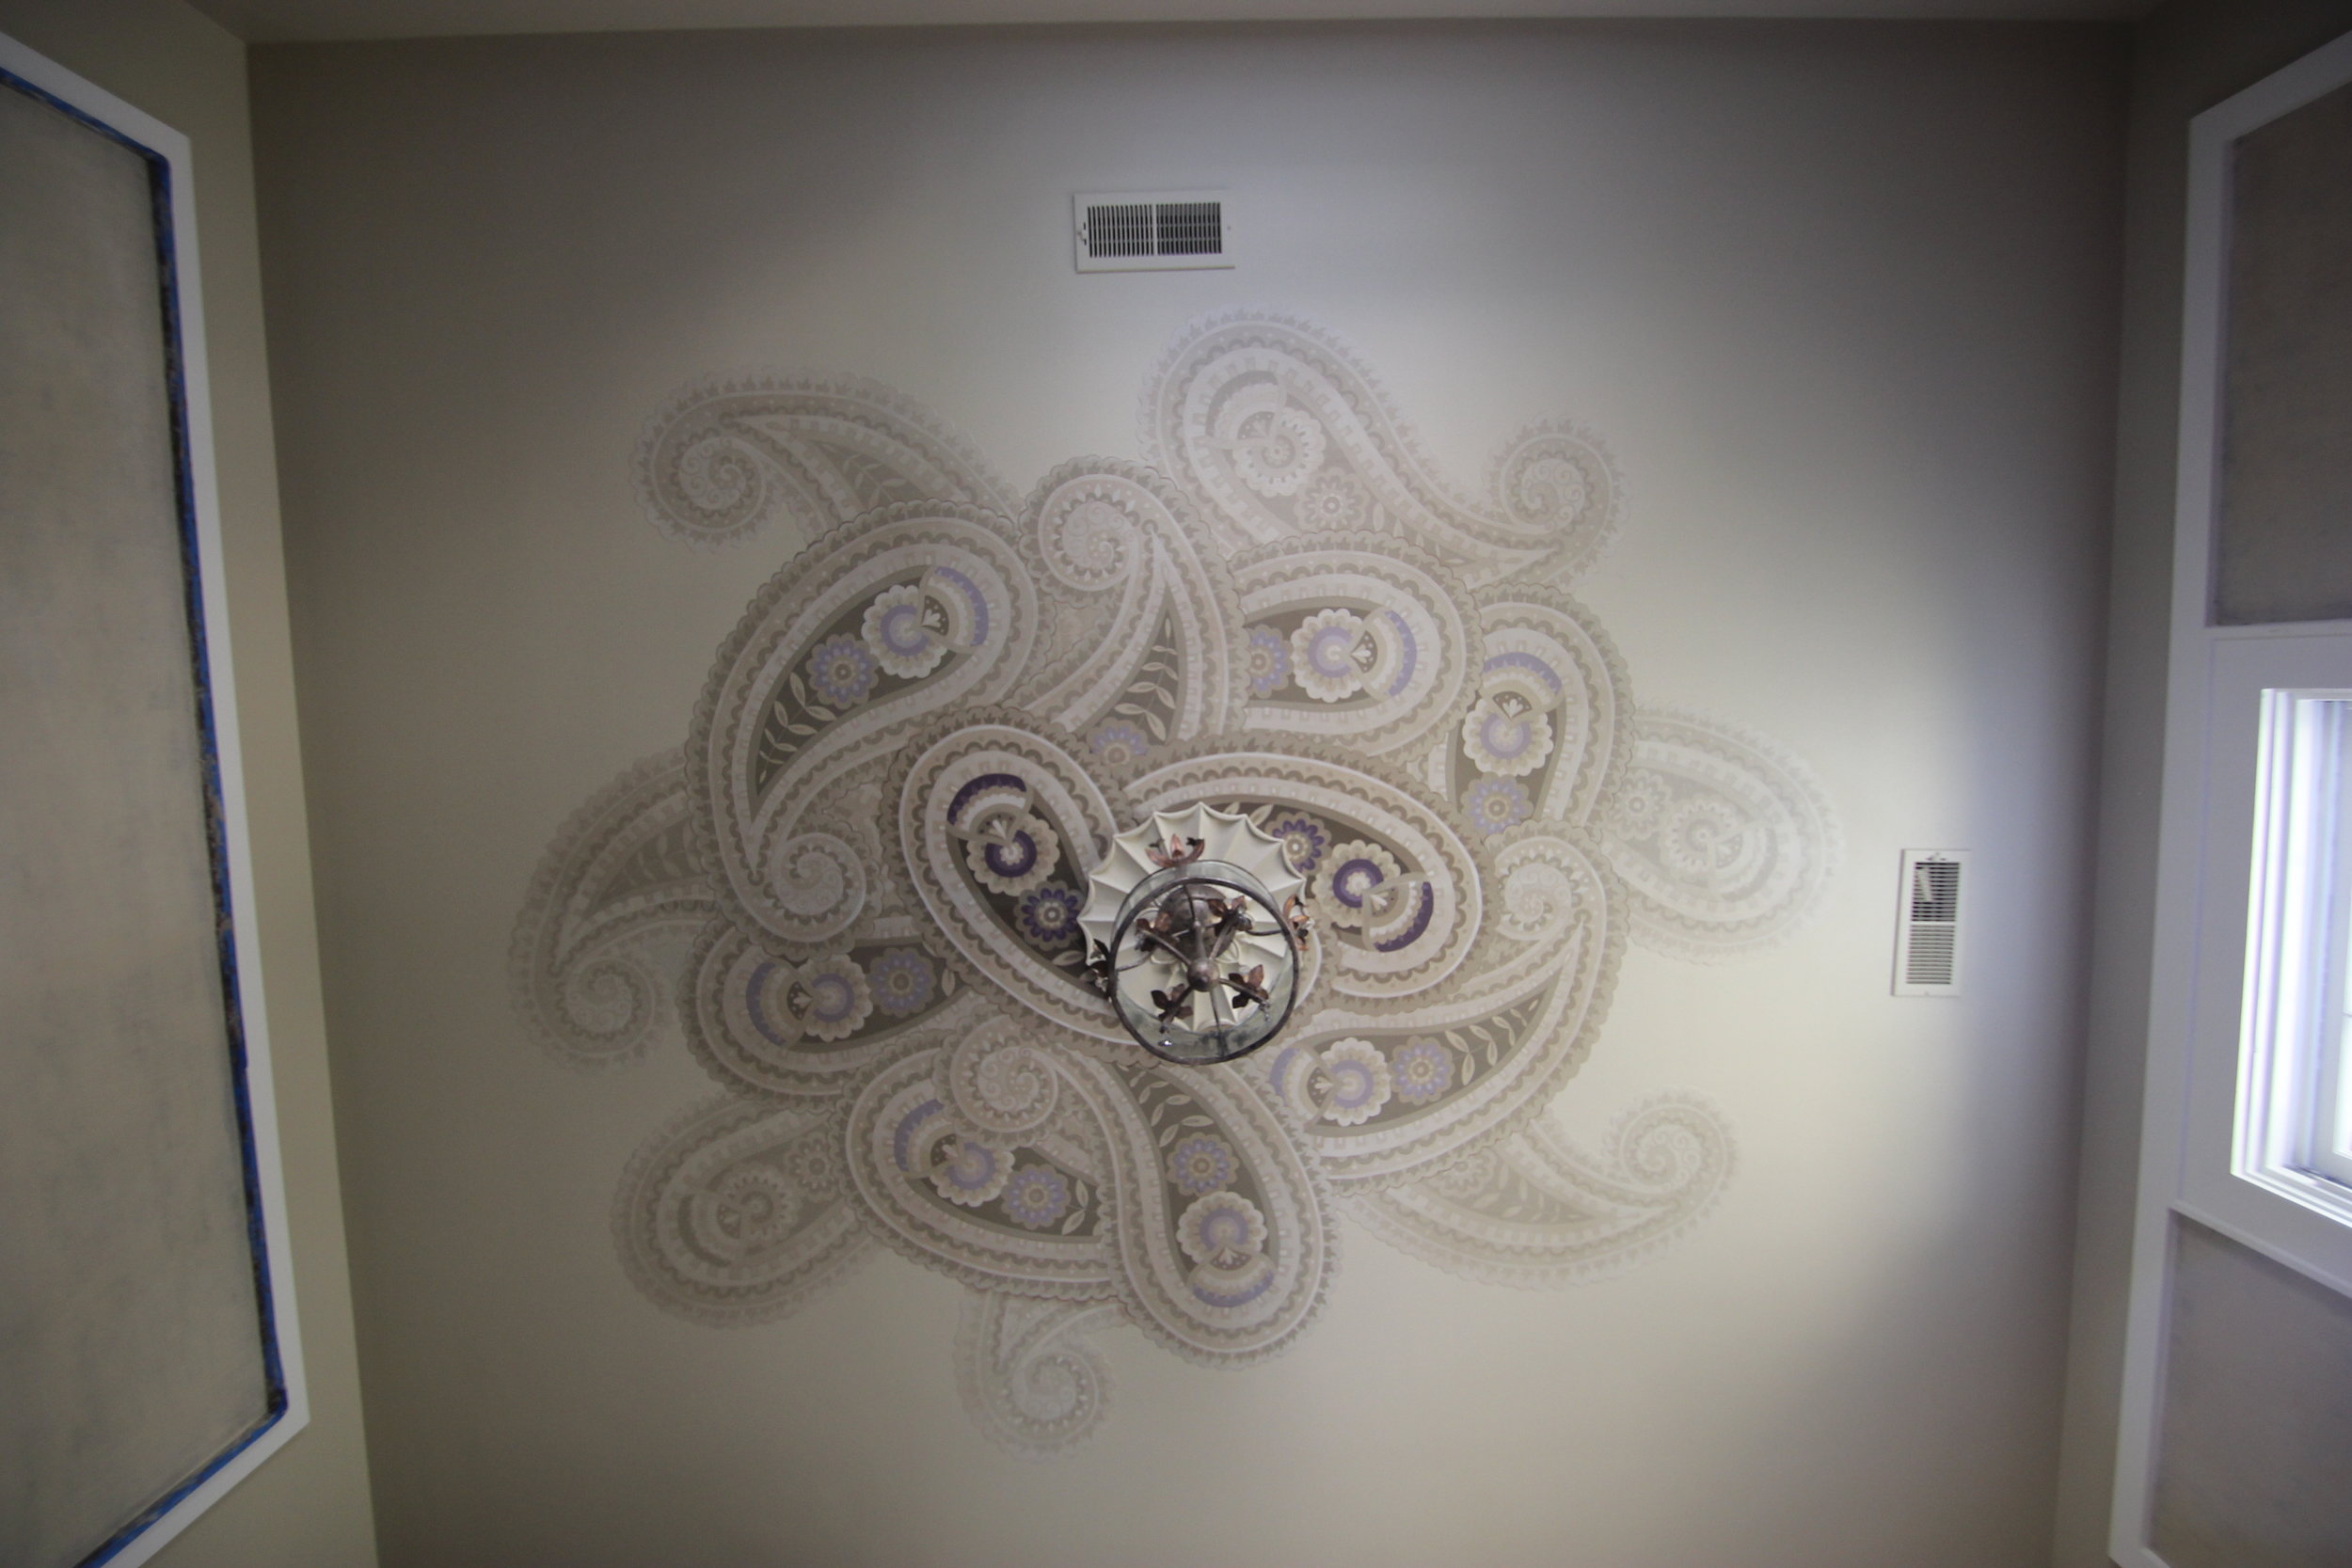
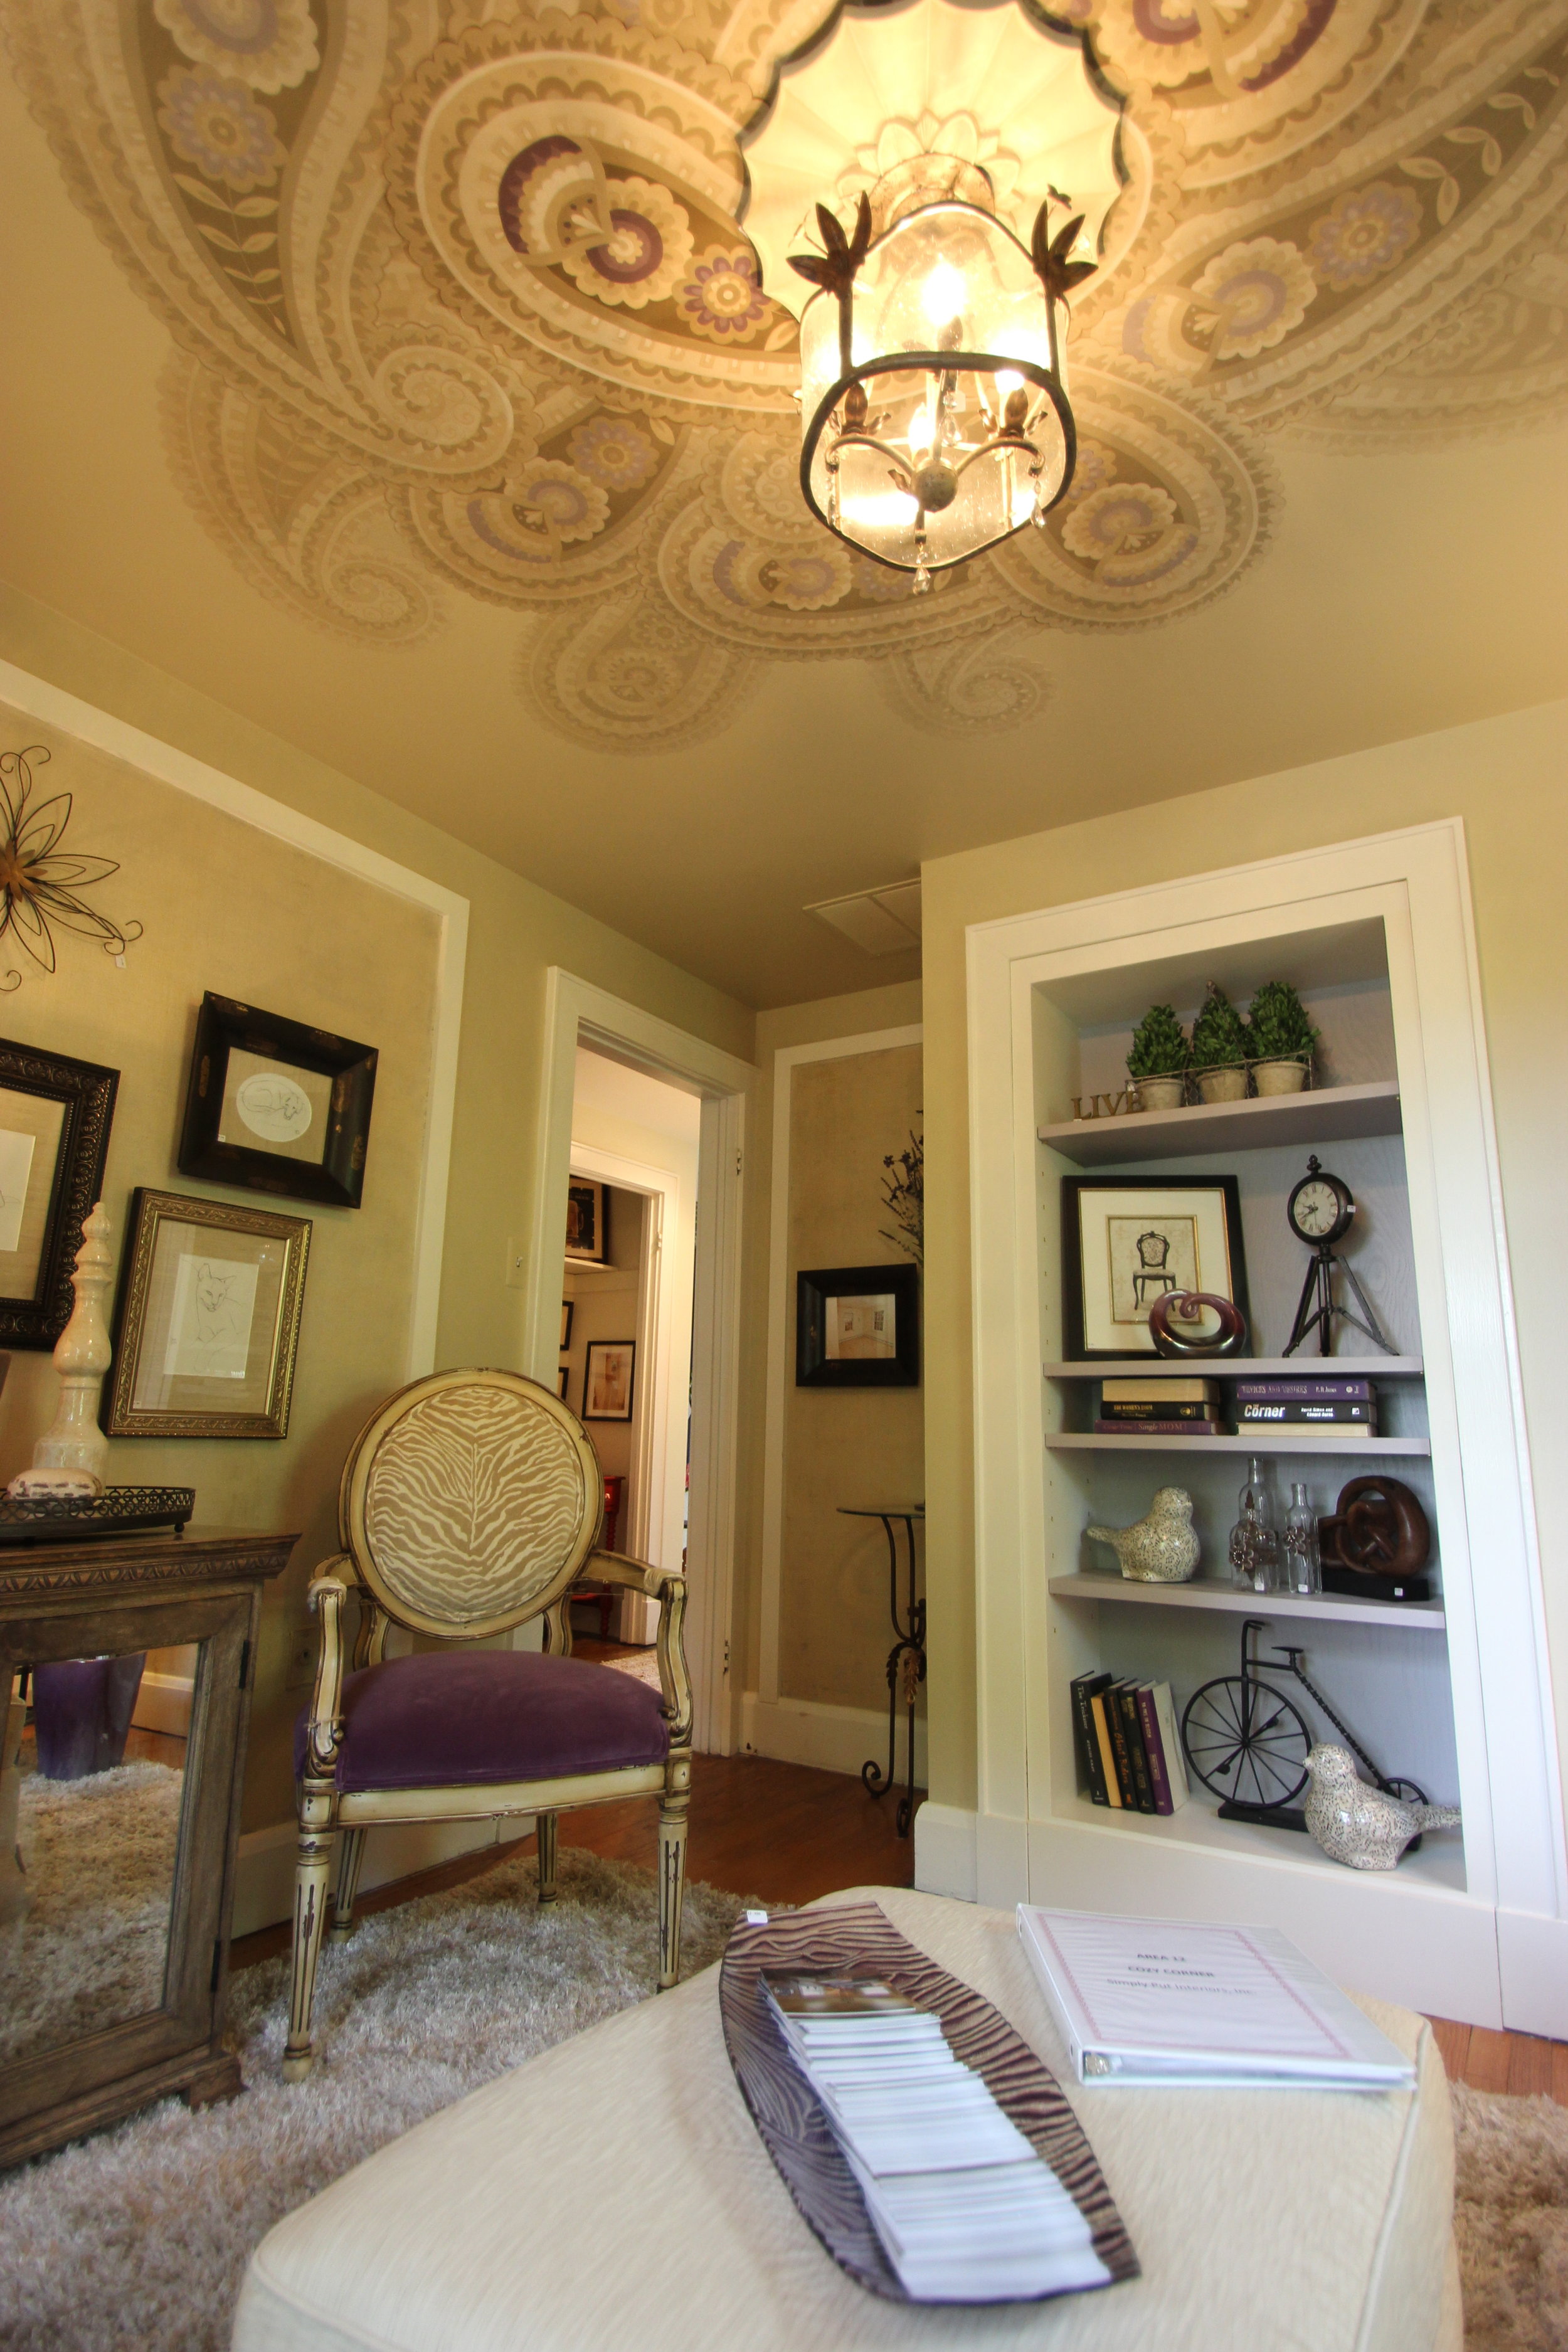
"Cosy Corner" is the title designer Paula Henry of Simply Put Interiors gave to this tiny little bedroom at this year's BSO Decorator Showhouse.  Previously owned by legendary Baltimore Colts Quarterback Johnny Unitas, the house was transformed by almost two dozen designers. This year Paula enlisted my services to create a unique ceiling treatment and textural wall finish.  In addition, I created sketches of some of our beloved pets, my cats and her dogs.

IMG_4238

IMG_4238

IMG_4458

IMG_4458

IMG_4452

IMG_4452

It was a whirlwind trying to get all of the work completed but the final result is a stunner.  Paula always has a great way of visualizing and executing a beautiful environment.  I'm always happy to be a part of her projects.

IMG_4447

IMG_4447

A special thanks goes to my Friend in Faux, Alison Roy Harrison who owns Columbia Interior Finishes.  Alison bailed me out and executed the finishes on the walls while I was busy trying to finish the ceiling before deadline. Thank you Alison!!

IMG_4465

IMG_4465

Modern Chinoiserie

IMG_1652

IMG_1652

A few months ago I was contacted by designer Heidi Dripps to create a finish that was inspired by a wallpaper that the client loved.  The wallpaper was beautiful but there were certain things that didn't work for the client. One, the colorways weren't quite right. And two, the composition wasn't just so. The designer and client wanted me to recreate the feel of the contemporary imagery but create more of a mural.

In keeping with the printed look I created stencils and masked out each branch so that I could stencil them also.

2012-08-21_09-34-52_936

2012-08-21_09-34-52_936

The final look is traditional and contemporary at the same time.

IMG_1637

IMG_1637

IMG_1627

IMG_1627

An example of traditional chinoiserie:(‘Badminton’ design in standard design colours on Mocha Williamsburg. Photography by Fritz von der Schulenburg.Interior design by Bunny Williams.)

degournay

degournay

Source:http://www.degournay.com/

Definition of Chinoiserie (pronounced shin-wa-sur-ee) courtesy of wikipedia: a French term, signifying "Chinese-esque", refers to a recurring theme in European artistic styles since the seventeenth century, which reflect Chinese artistic influences. It is characterized by the use of fanciful imagery of an imaginary China, by asymmetry in format and whimsical contrasts of scale, and by the attempts to imitate Chinese porcelain and the use of lacquer-like materials and decoration.

Second Round

IMG_0267

IMG_0267

A year ago I worked with the same client who had me complete a plethora of work for them.  This year I'm back for round two.  Previously I had painted columns, applied metallic plaster, and done some artwork for the children's rooms:

[slideshow]

This time, we focused on artwork for the stairwells and some for the master bedroom.  I also was asked to add to the children's room.  My last post I showed you how a painting evolves form a sketch to a final work.  That was for this client. Here are the other pieces for which I was commissioned. Hope you enjoy!

IMG_1448

IMG_1448

cloud mural large

cloud mural large

IMG_1422

IMG_1422

tryptic

tryptic

IMG_1426

IMG_1426

sitting room

sitting room

And...

IMG_1419

IMG_1419

Evolution of a Painting

fountain with tree

fountain with tree

A painting starts with a series of sketches.  To get to this point there are several hours of research, designing, discussions with the client, revisions, then final approval.  Sometimes the sketch is done in color. For this piece, we had images of stone that we selected for age, color and patina.

IMG_1099

IMG_1099

I usually start with an underpainting of values to help create the depth before adding color. This also helps with getting to the right value without a ton of paint. I don't always do this, but for Trompe L'oeil it helps me see the dimension and establish light and shadow placement.

IMG_1145

IMG_1145

Next I add the tones of the stone.  I premix my main colors and tweak them on the palette as I go.  This piece has a lot of warm shadows and cool highlights.  You can also see my reference material.  I spend countless hours searching for the right references.  Without them, I am unable to really replicate the natural qualities of the material.

IMG_1151

IMG_1151

IMG_1148

IMG_1148

Once the main areas are blocked in, I like to go back and tweak areas to make sure its cohesive.  The center will have a very specific image that will look like a bas relief carving.  I shot reference photos, including Mike's hands pouring water.  The water in the carving was the most difficult. I wanted it to look fluid but at the same time it had to be "carved" out of the stone.

IMG_1272

IMG_1272

IMG_1213

IMG_1213

The final piece, varnished before cutting and installation. You can see the pitting and cracking that I added for authenticity.

IMG_1268

IMG_1268

IMG_1236

IMG_1236

IMG_1244

IMG_1244

Installation was done by Shelly Wilkins of Walls Etc.

2012-07-10_10-52-20_0

2012-07-10_10-52-20_0

And the final result:

IMG_1421

IMG_1421

Tada!

I added shadowing on the wall once it was installed.

A note on canvas installation vs painting on site...

I really prefer to paint on canvas to painting on site for several reasons.  It allows me to paint in the comfort of my studio, and the client doesn't have to put up with me for the weeks it takes to do the work.  It also allows the painting to become transportable.  In the case of a move, it is very easily taken down with some warm soapy water.  The investment is not left behind! Its great for kids rooms too.

The art of painting on canvas and adhering it to the wall is a 3000 year old method referred to as "marouflage." You can learn more about the technique here.

Some public examples of this type of work can be seen at the Library of Congress, The Capitol Building, the Biltmore Estate, and countless others.

A first for me

UPDATE: Here are my panels. I can't show you the room because you have to GO SEE IT! But I wanted you to see the whole grouping.

About two years ago I took a class in Connecticut with the amazing grotesca artist Carolina D'Ayala Valva.  Ever since I have been hoping for a project where I could use what I learned.  This is that project!

I just finished 8 panels for this year's BSO Decorator Showhouse's dining room and I feel exactly that. The room is being designed by Paula Henry of Simply Put Interiors.  The panels are based on 18th century Baroque and Rococo decorative ornamentation with scenery in each.  I'm not going to spoil the reveal because I really want you to see them in person, so I'm giving you a before shot of the room.  You need to see this and all of the spaces completely transformed by all of the talented designers.

IMG_0553

IMG_0553

For more information on this year's showhouse click here.

Being involved with 7 previous showhouses, I believe this one will be one of the best.  The house is in Loch Raven, on rolling acres off Cromwell Valley Road.  The house was built in the 1950's and visitors will be able to relate to the well proportioned spaces and see how they can take elements away to use in their own home.

I will be posting pictures of the evolution of this space along with the process photos of the panels after the house opens.  I hope to see you there and look forward to your feedback! (here's a teaser of one of the panels...severely cropped as to not to give much away!)

IMG_0742

IMG_0742

Also, I have updated my website with a new tab under galleries called "Available Pieces" for items that are for sale. If you see something you are interested in, contact me!

Coming up in my next post, my current project which consists of woodgraining beams, some faux and plaster ceilings, and some decorative painting.

IMG_0539

IMG_0539