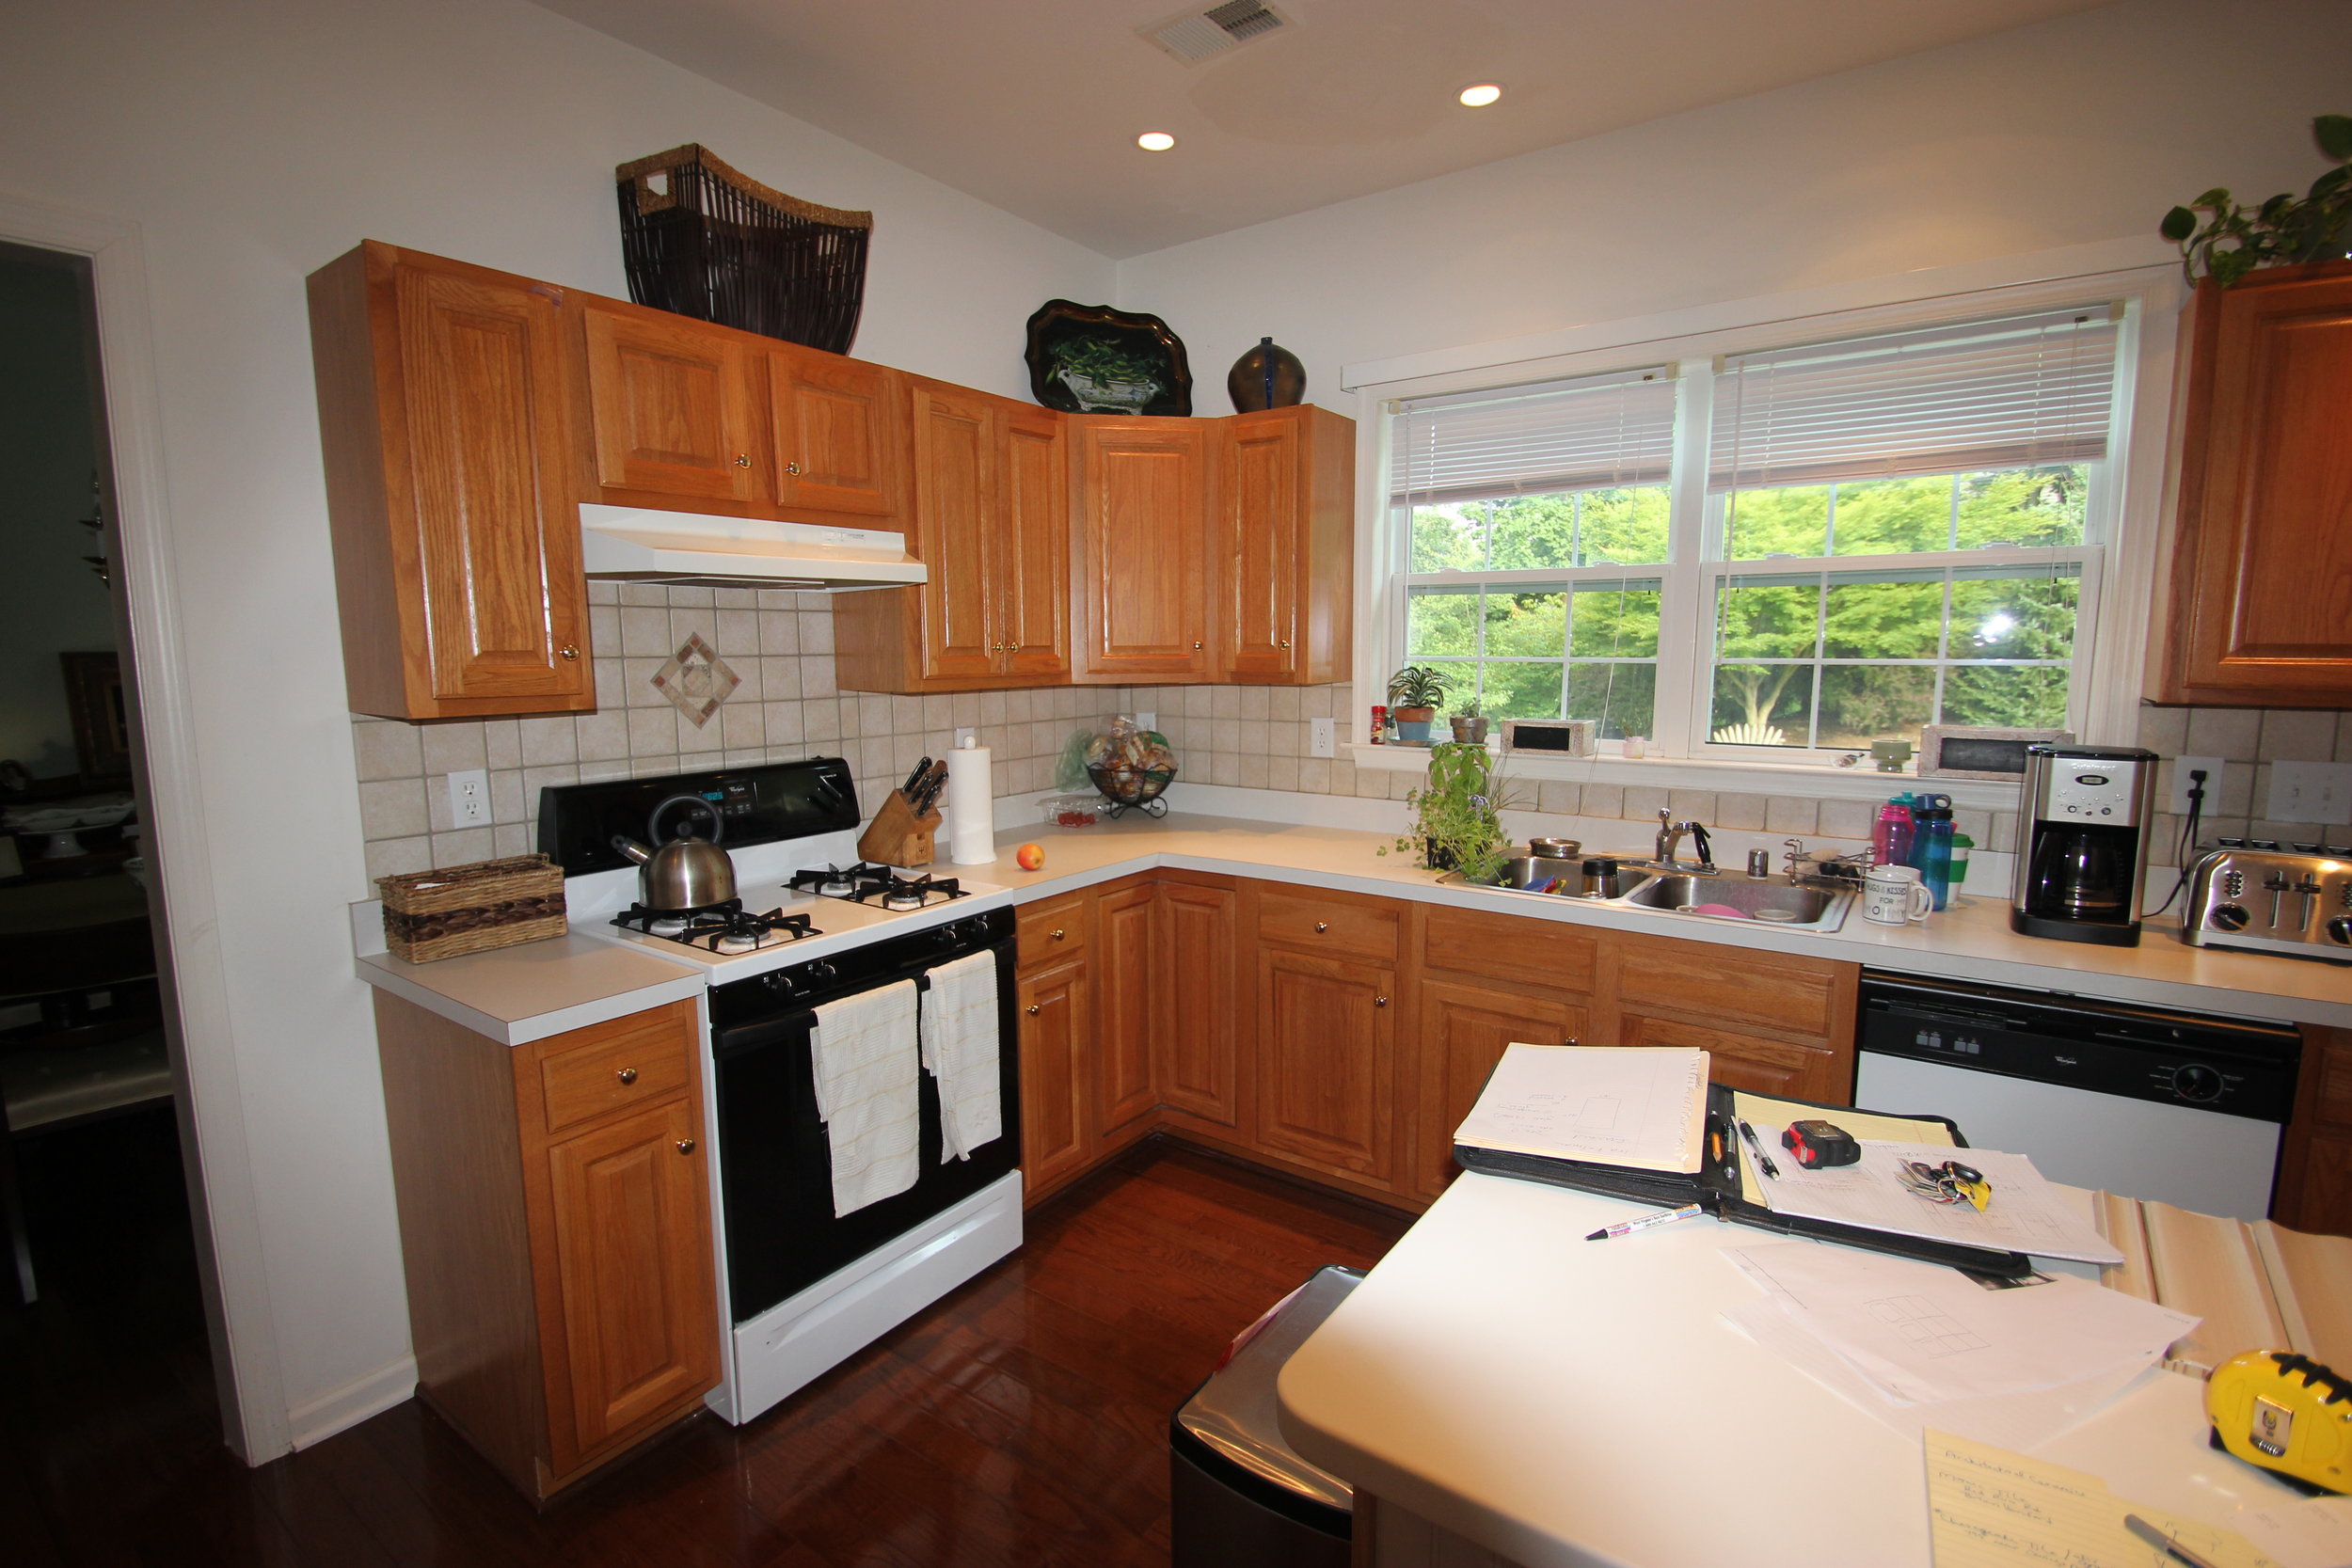
Never Say Never

IMG_2131

IMG_2131

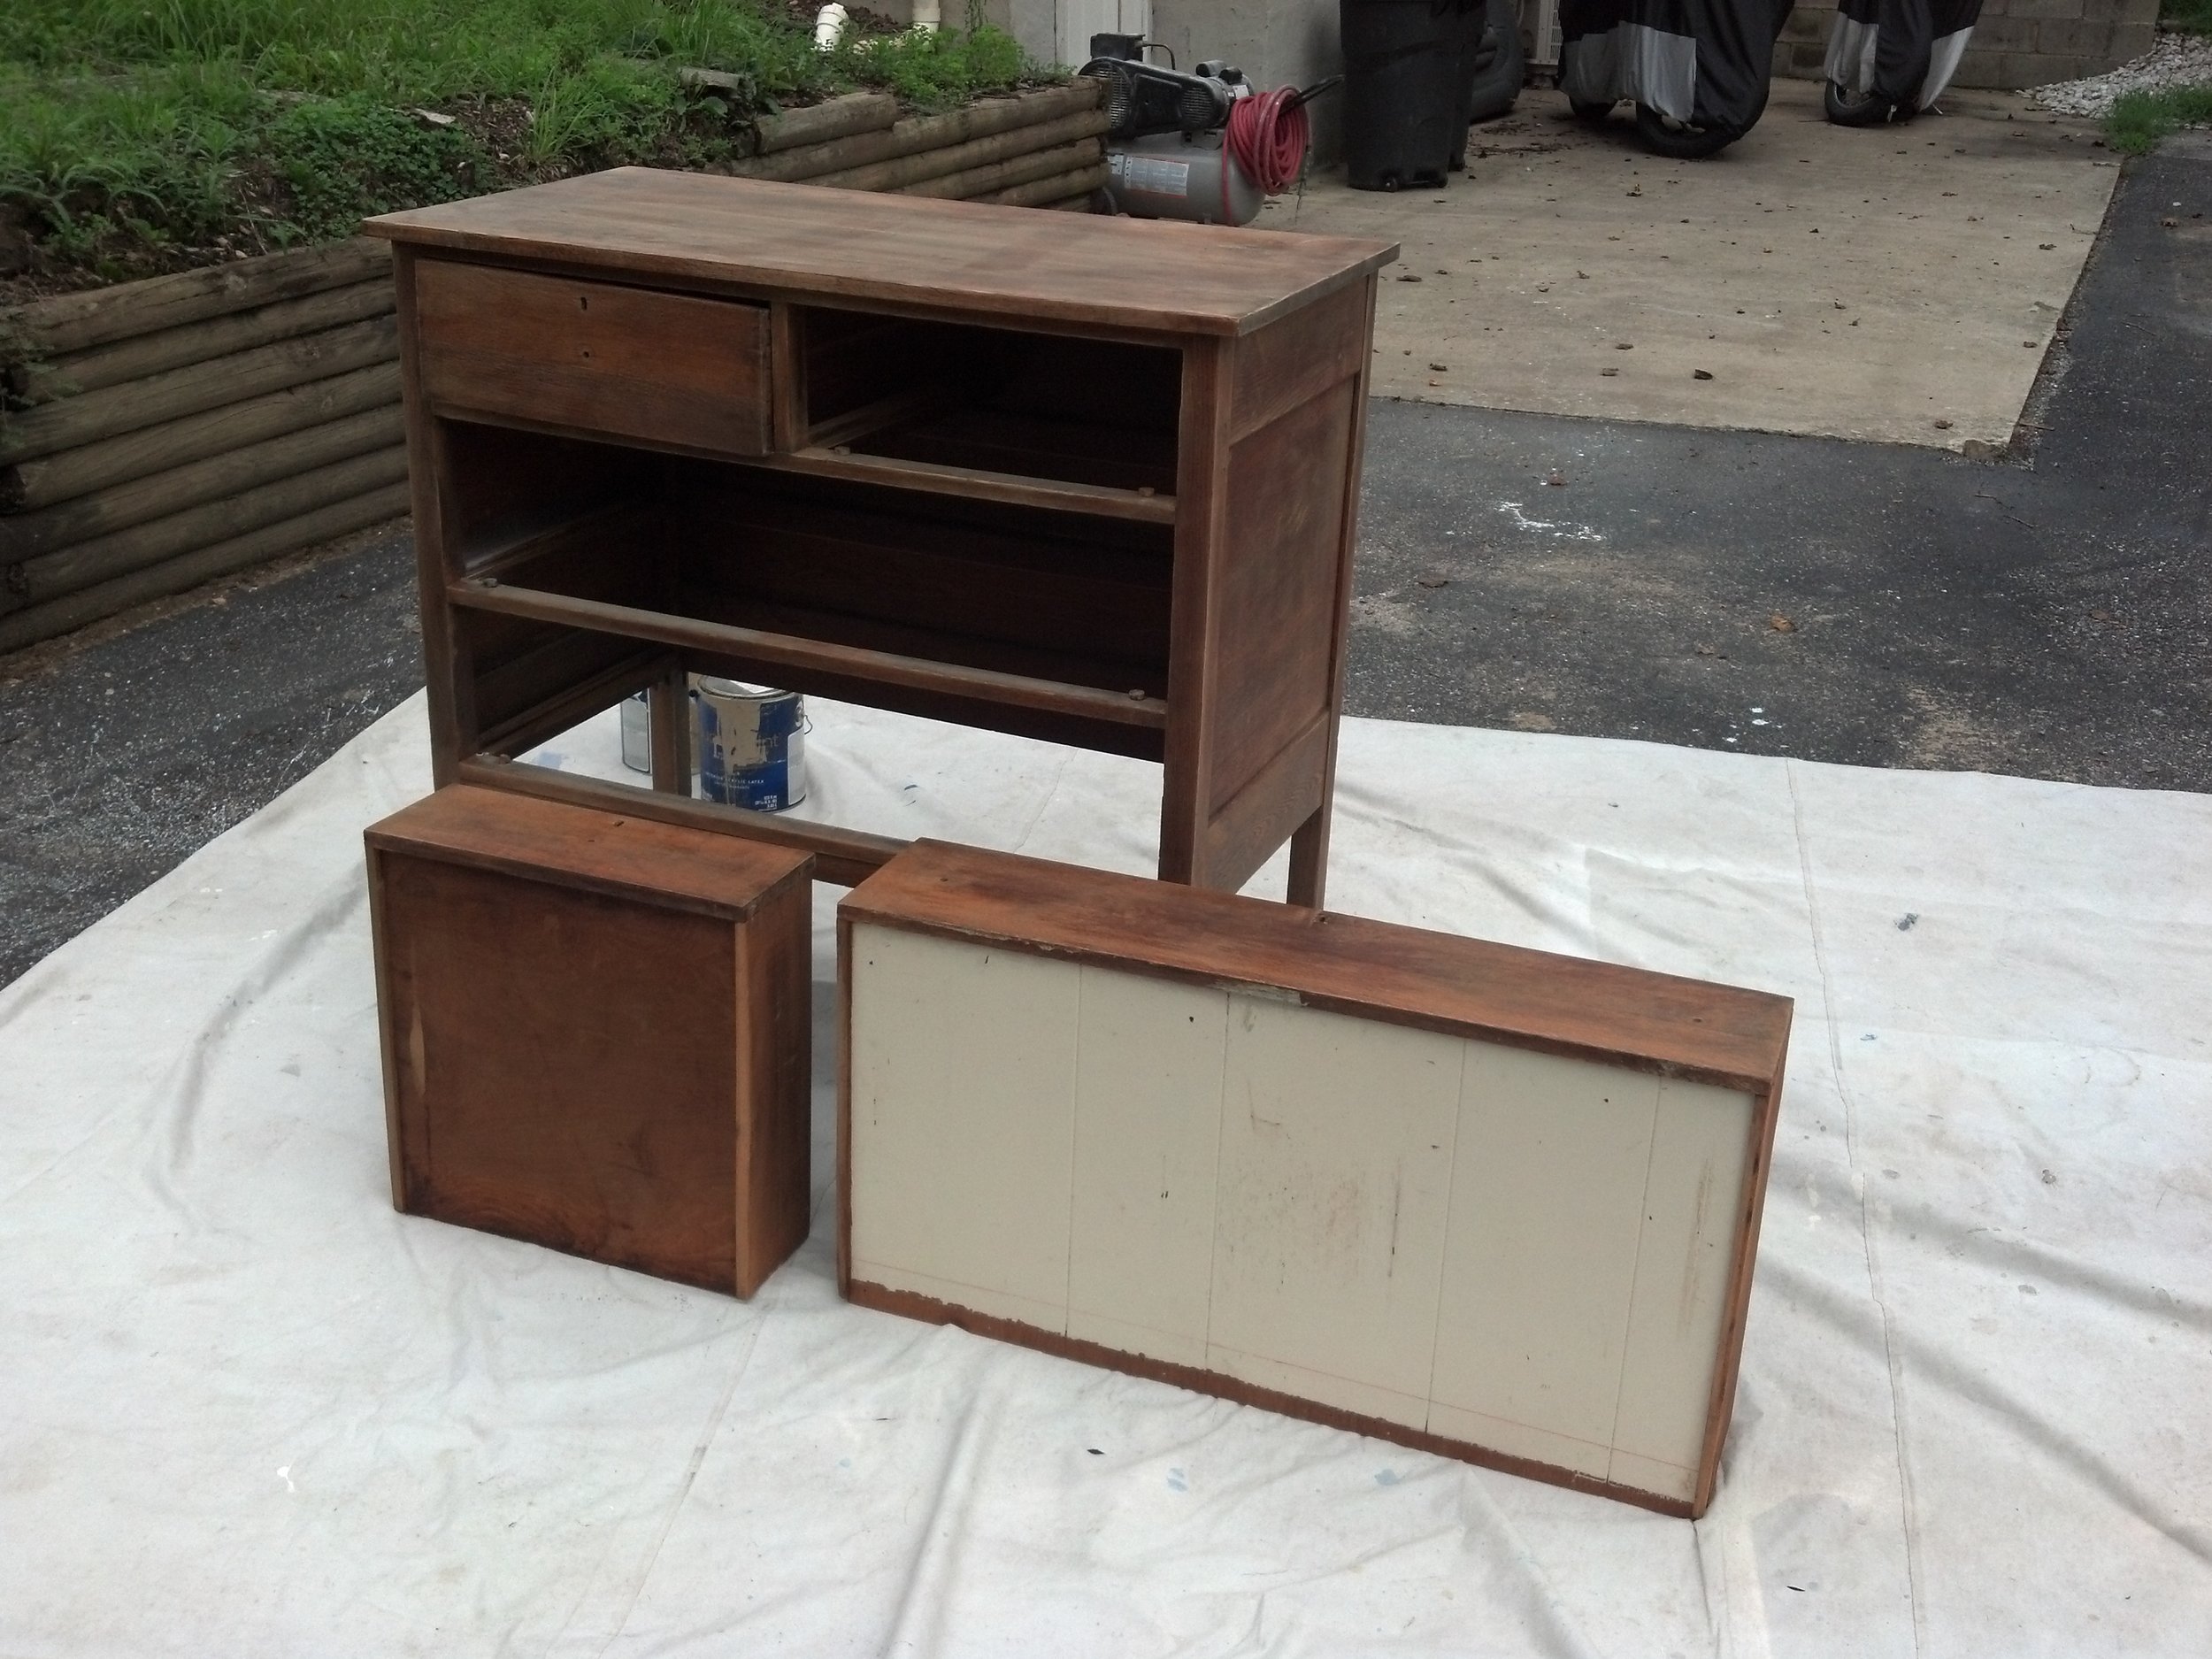
Yeah, well...so I said I'm done with painting cabinetry. Its tedious, difficult, smelly, sweaty, and dirty. BUT after figuring out the nuances of my new system I think I'm ready to go again.  I decided to try out a new sprayer and use lacquer after hosting the Faux Team's class at my studio. You can read about that here.

I hit a few hiccups along the way. The first was getting to know my new sprayer. With a little help from a friend I was able to get up and running. Then I didn't realize HOW MUCH paint you had to use just to get the hose primed! Then something went "fishy" with the paint on the doors. Turns out there was a certain cleaning product that was used on them and it repelled the paint. Mind you I had SCRUBBED these doors well with TSP and wiped them clean then sanded and wiped clean AGAIN but the problem persisted. The only solution was to keep layering thin coats of paint and sanding back between each coat followed by a wipe down each time with Xylol.
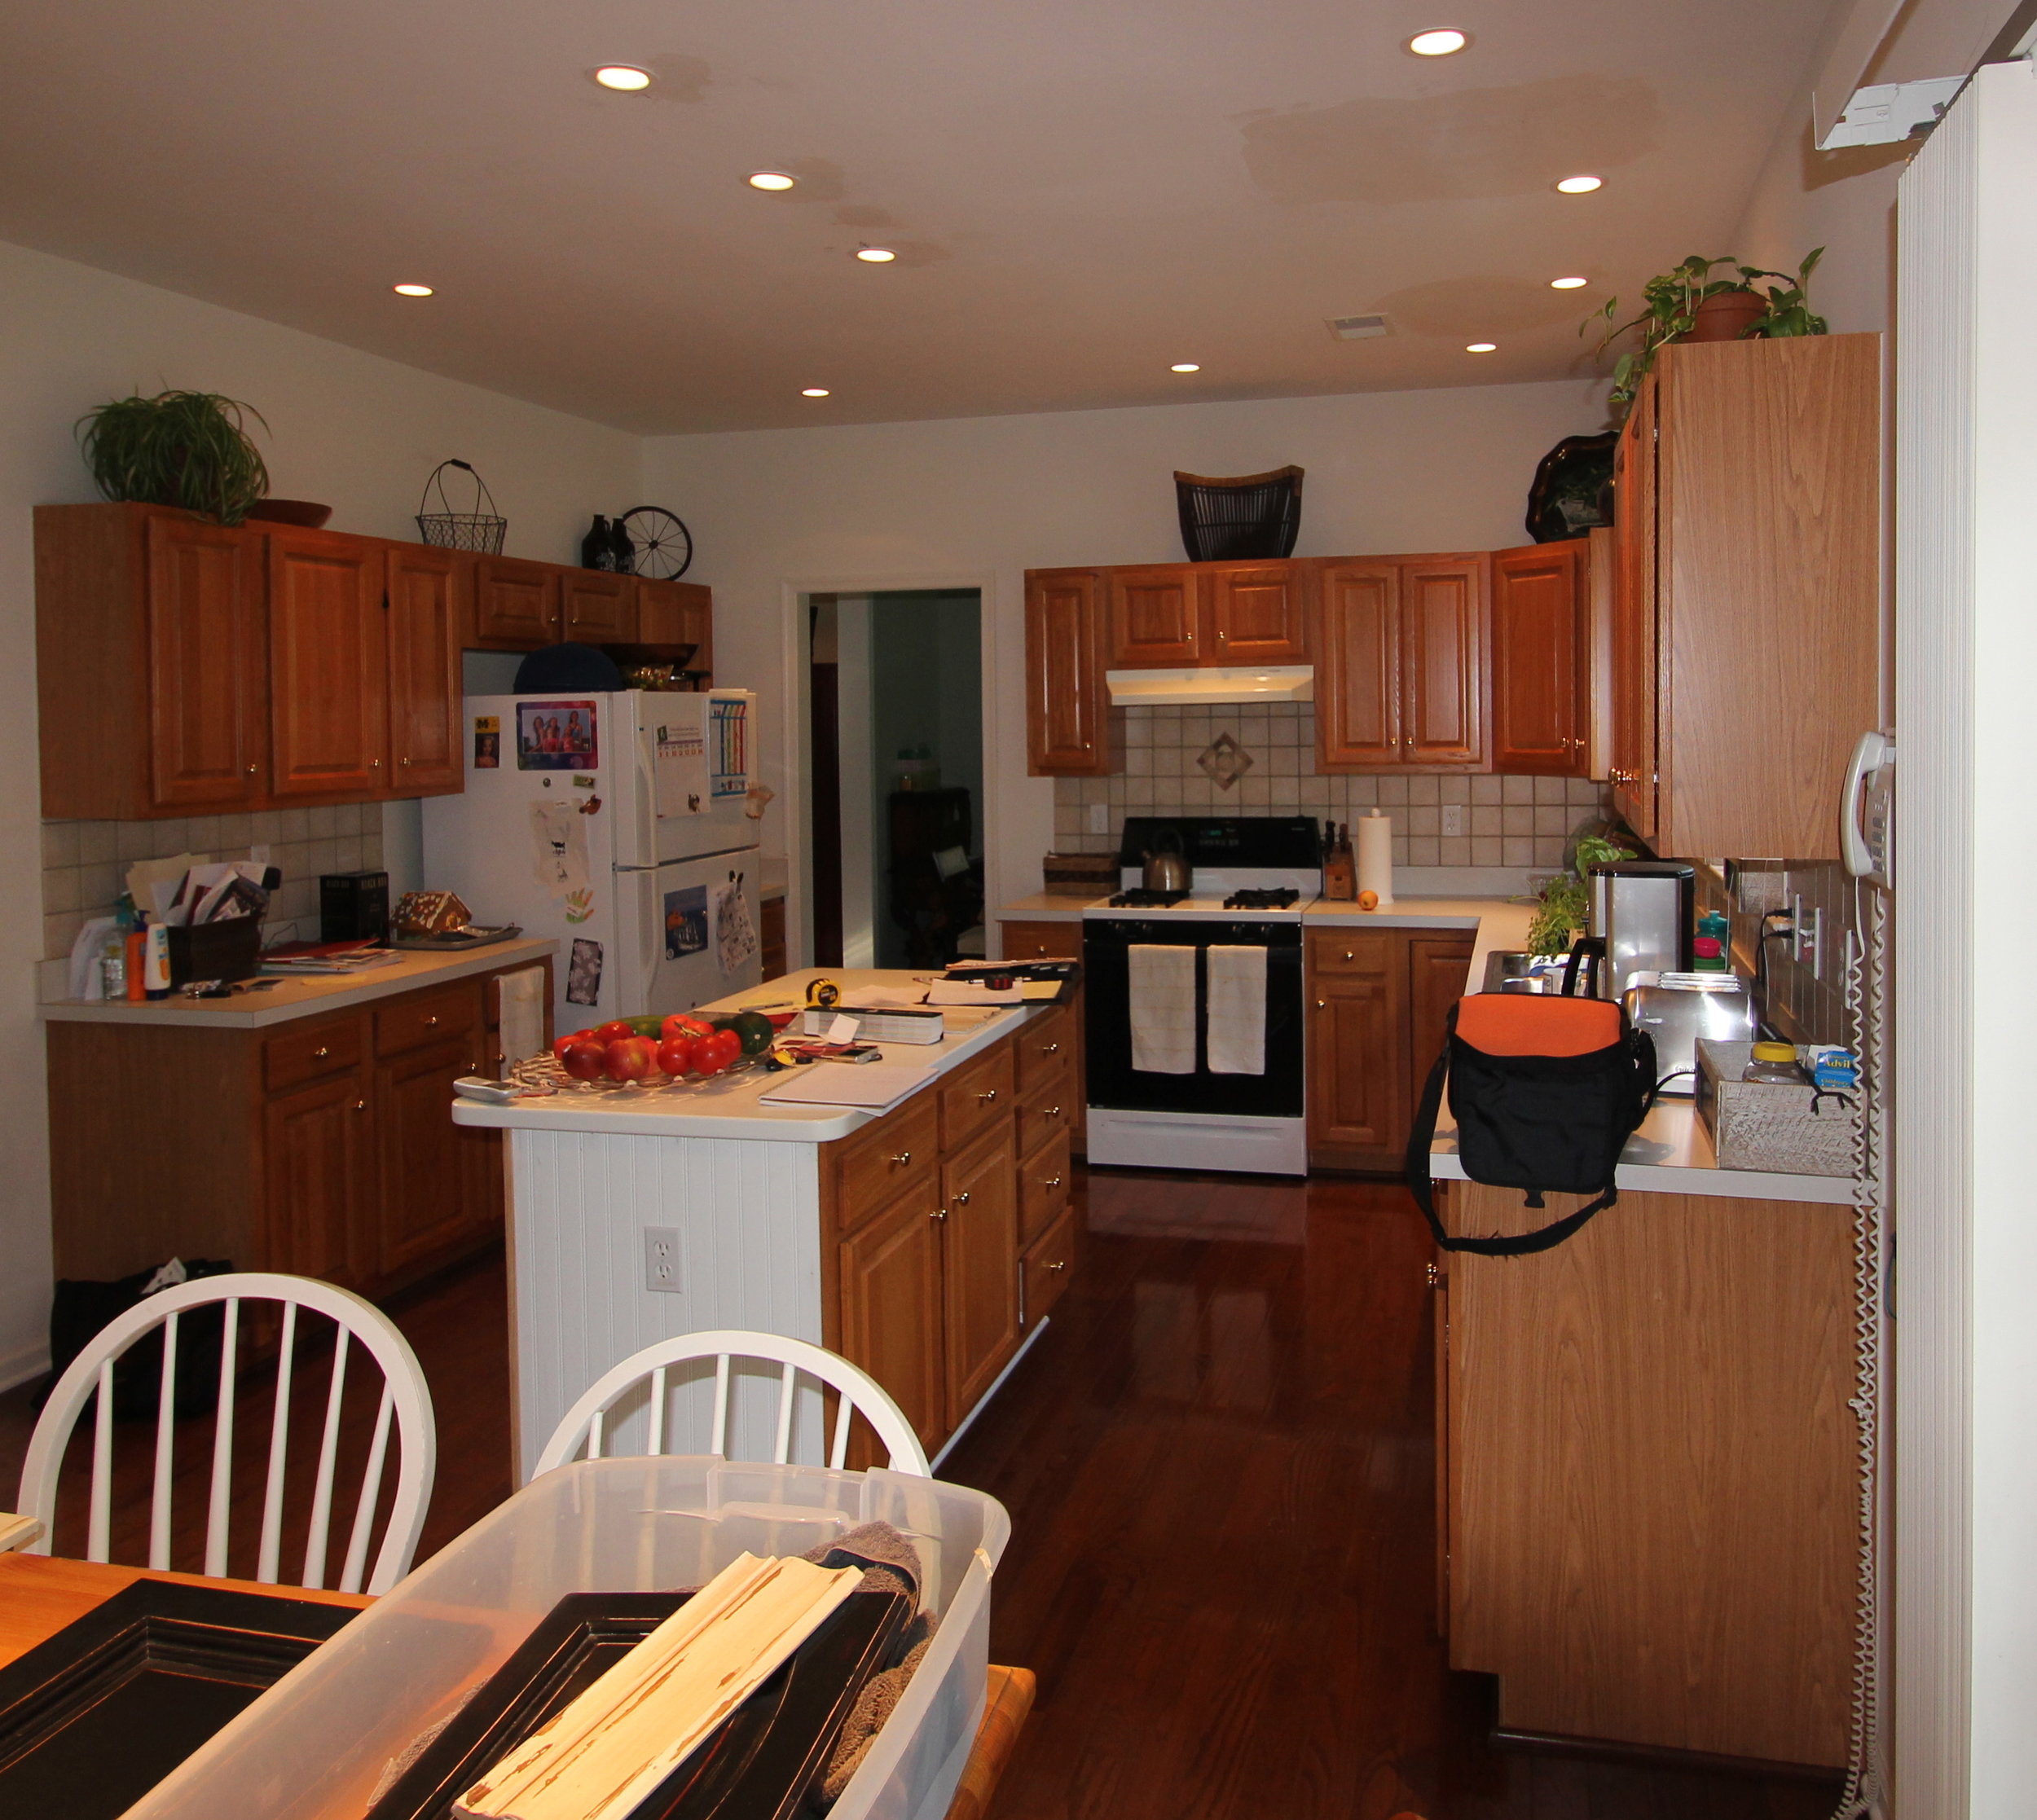
IMG_2380

IMG_2380

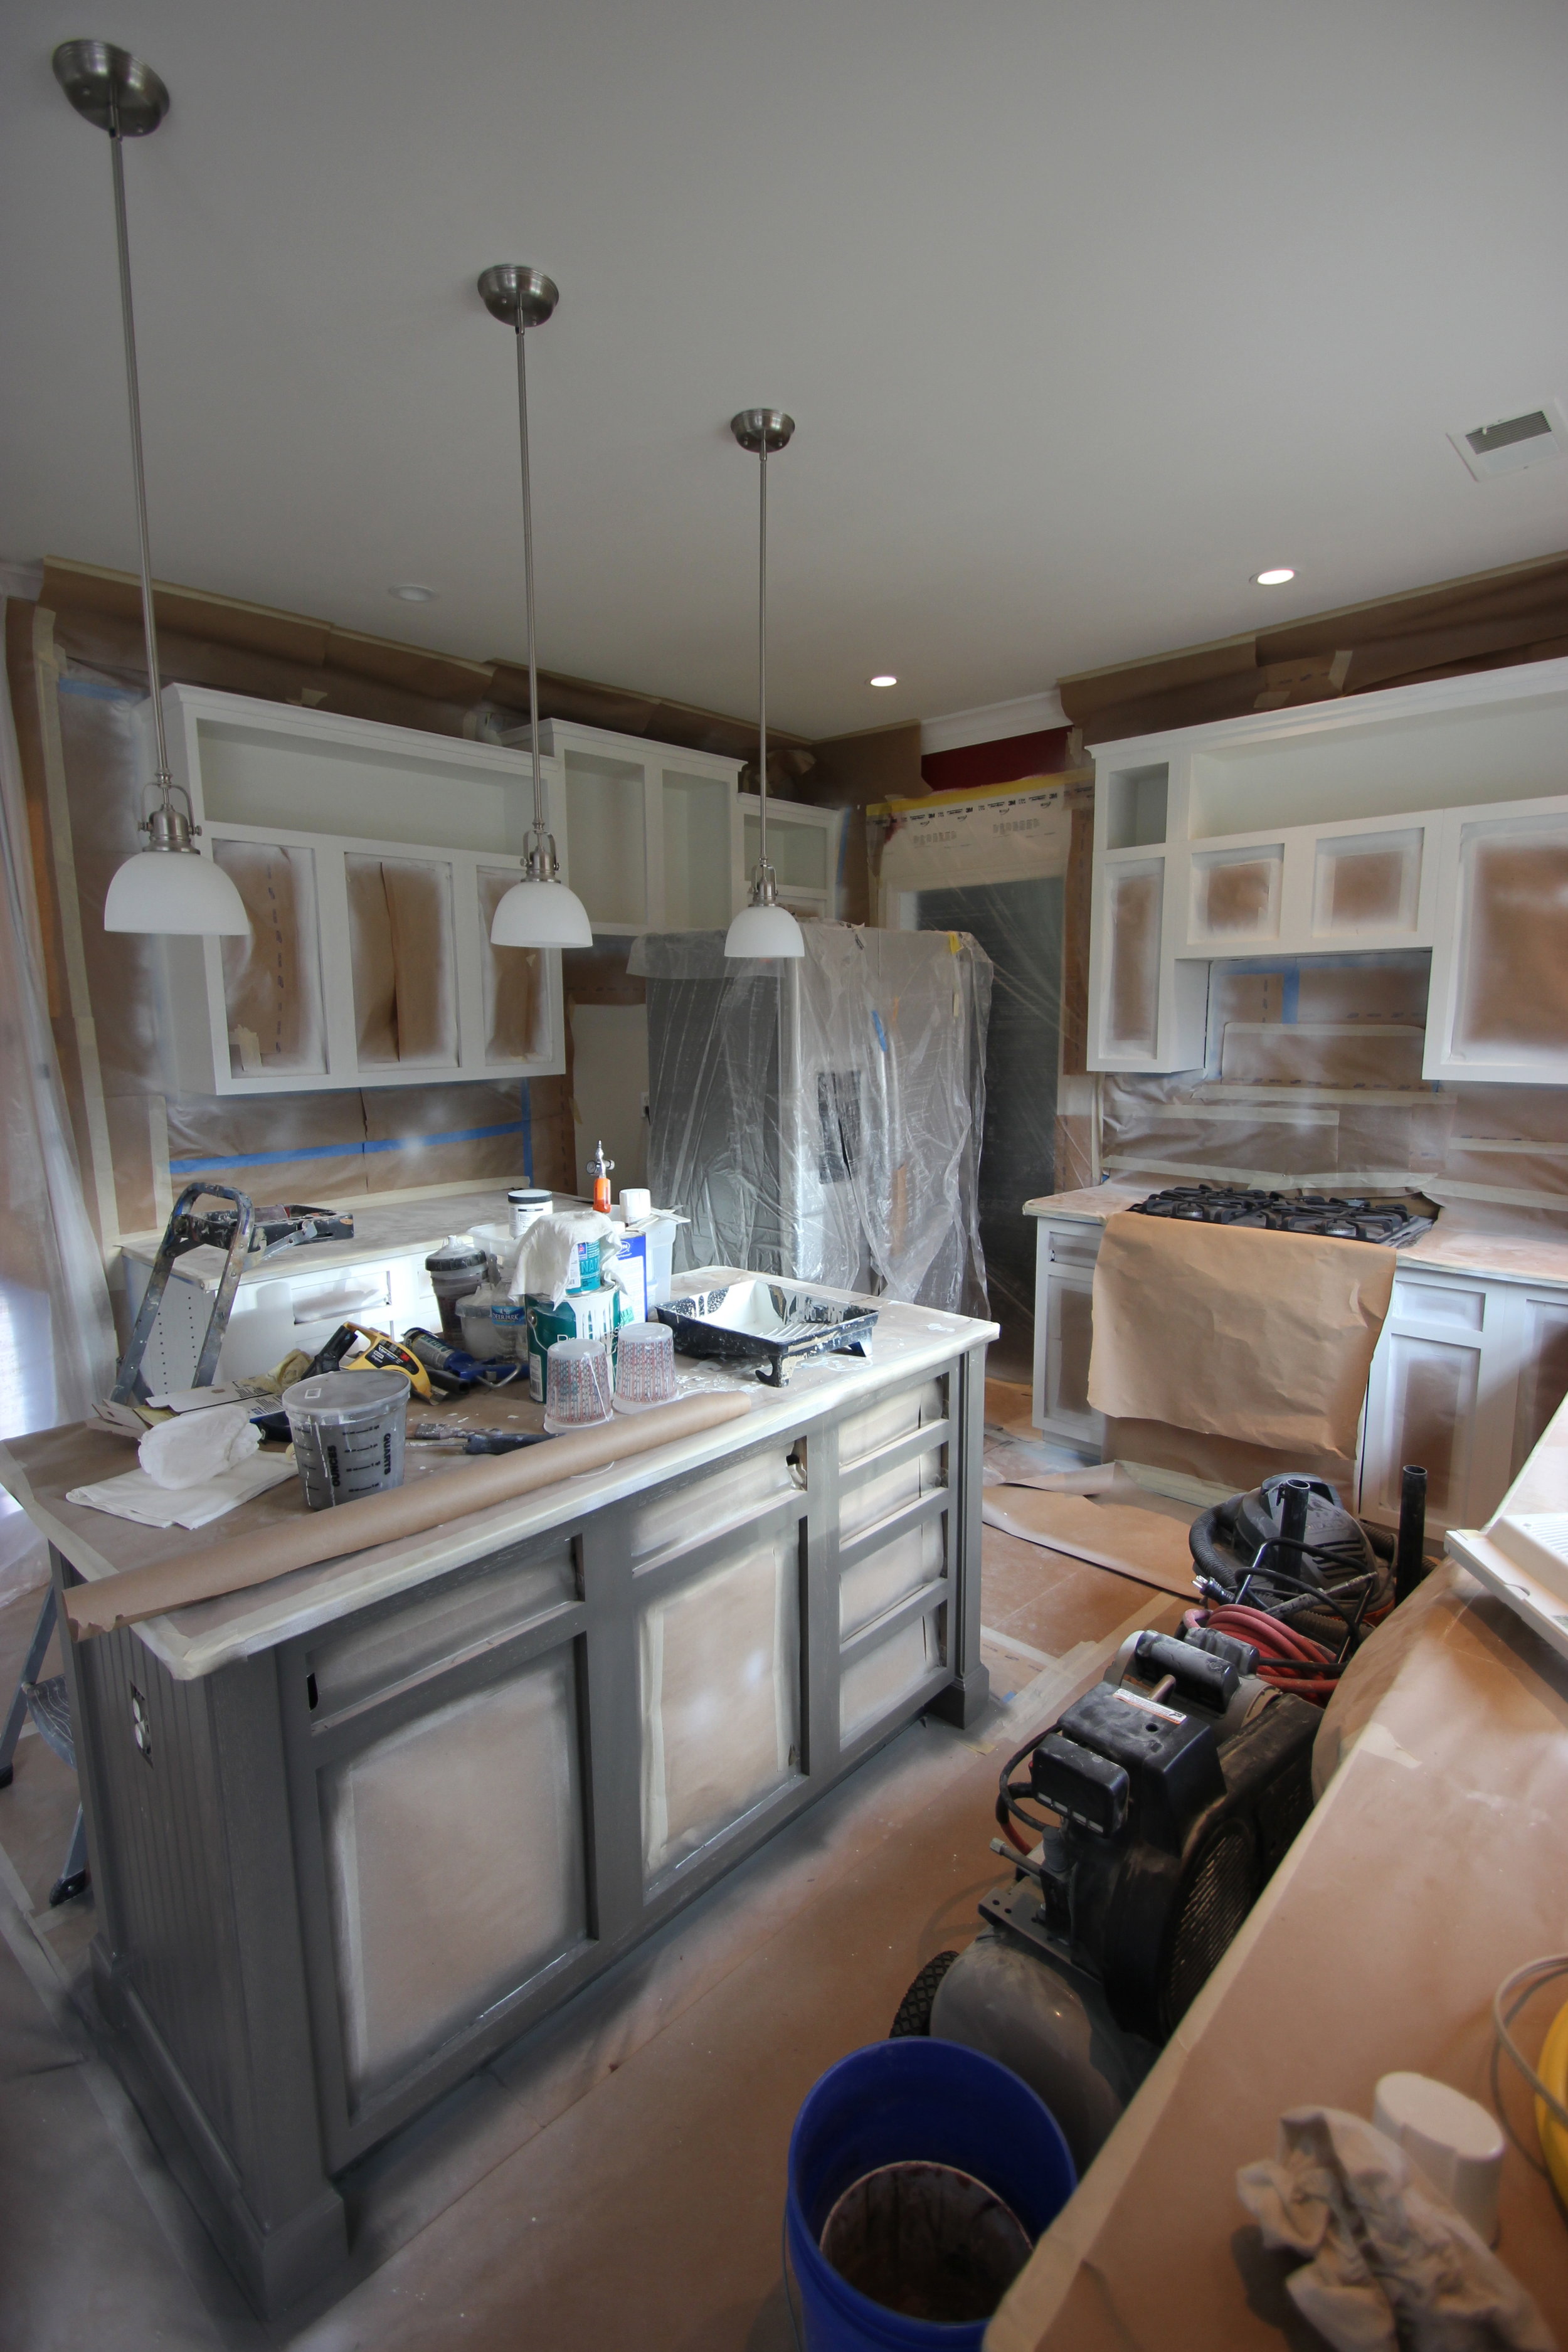
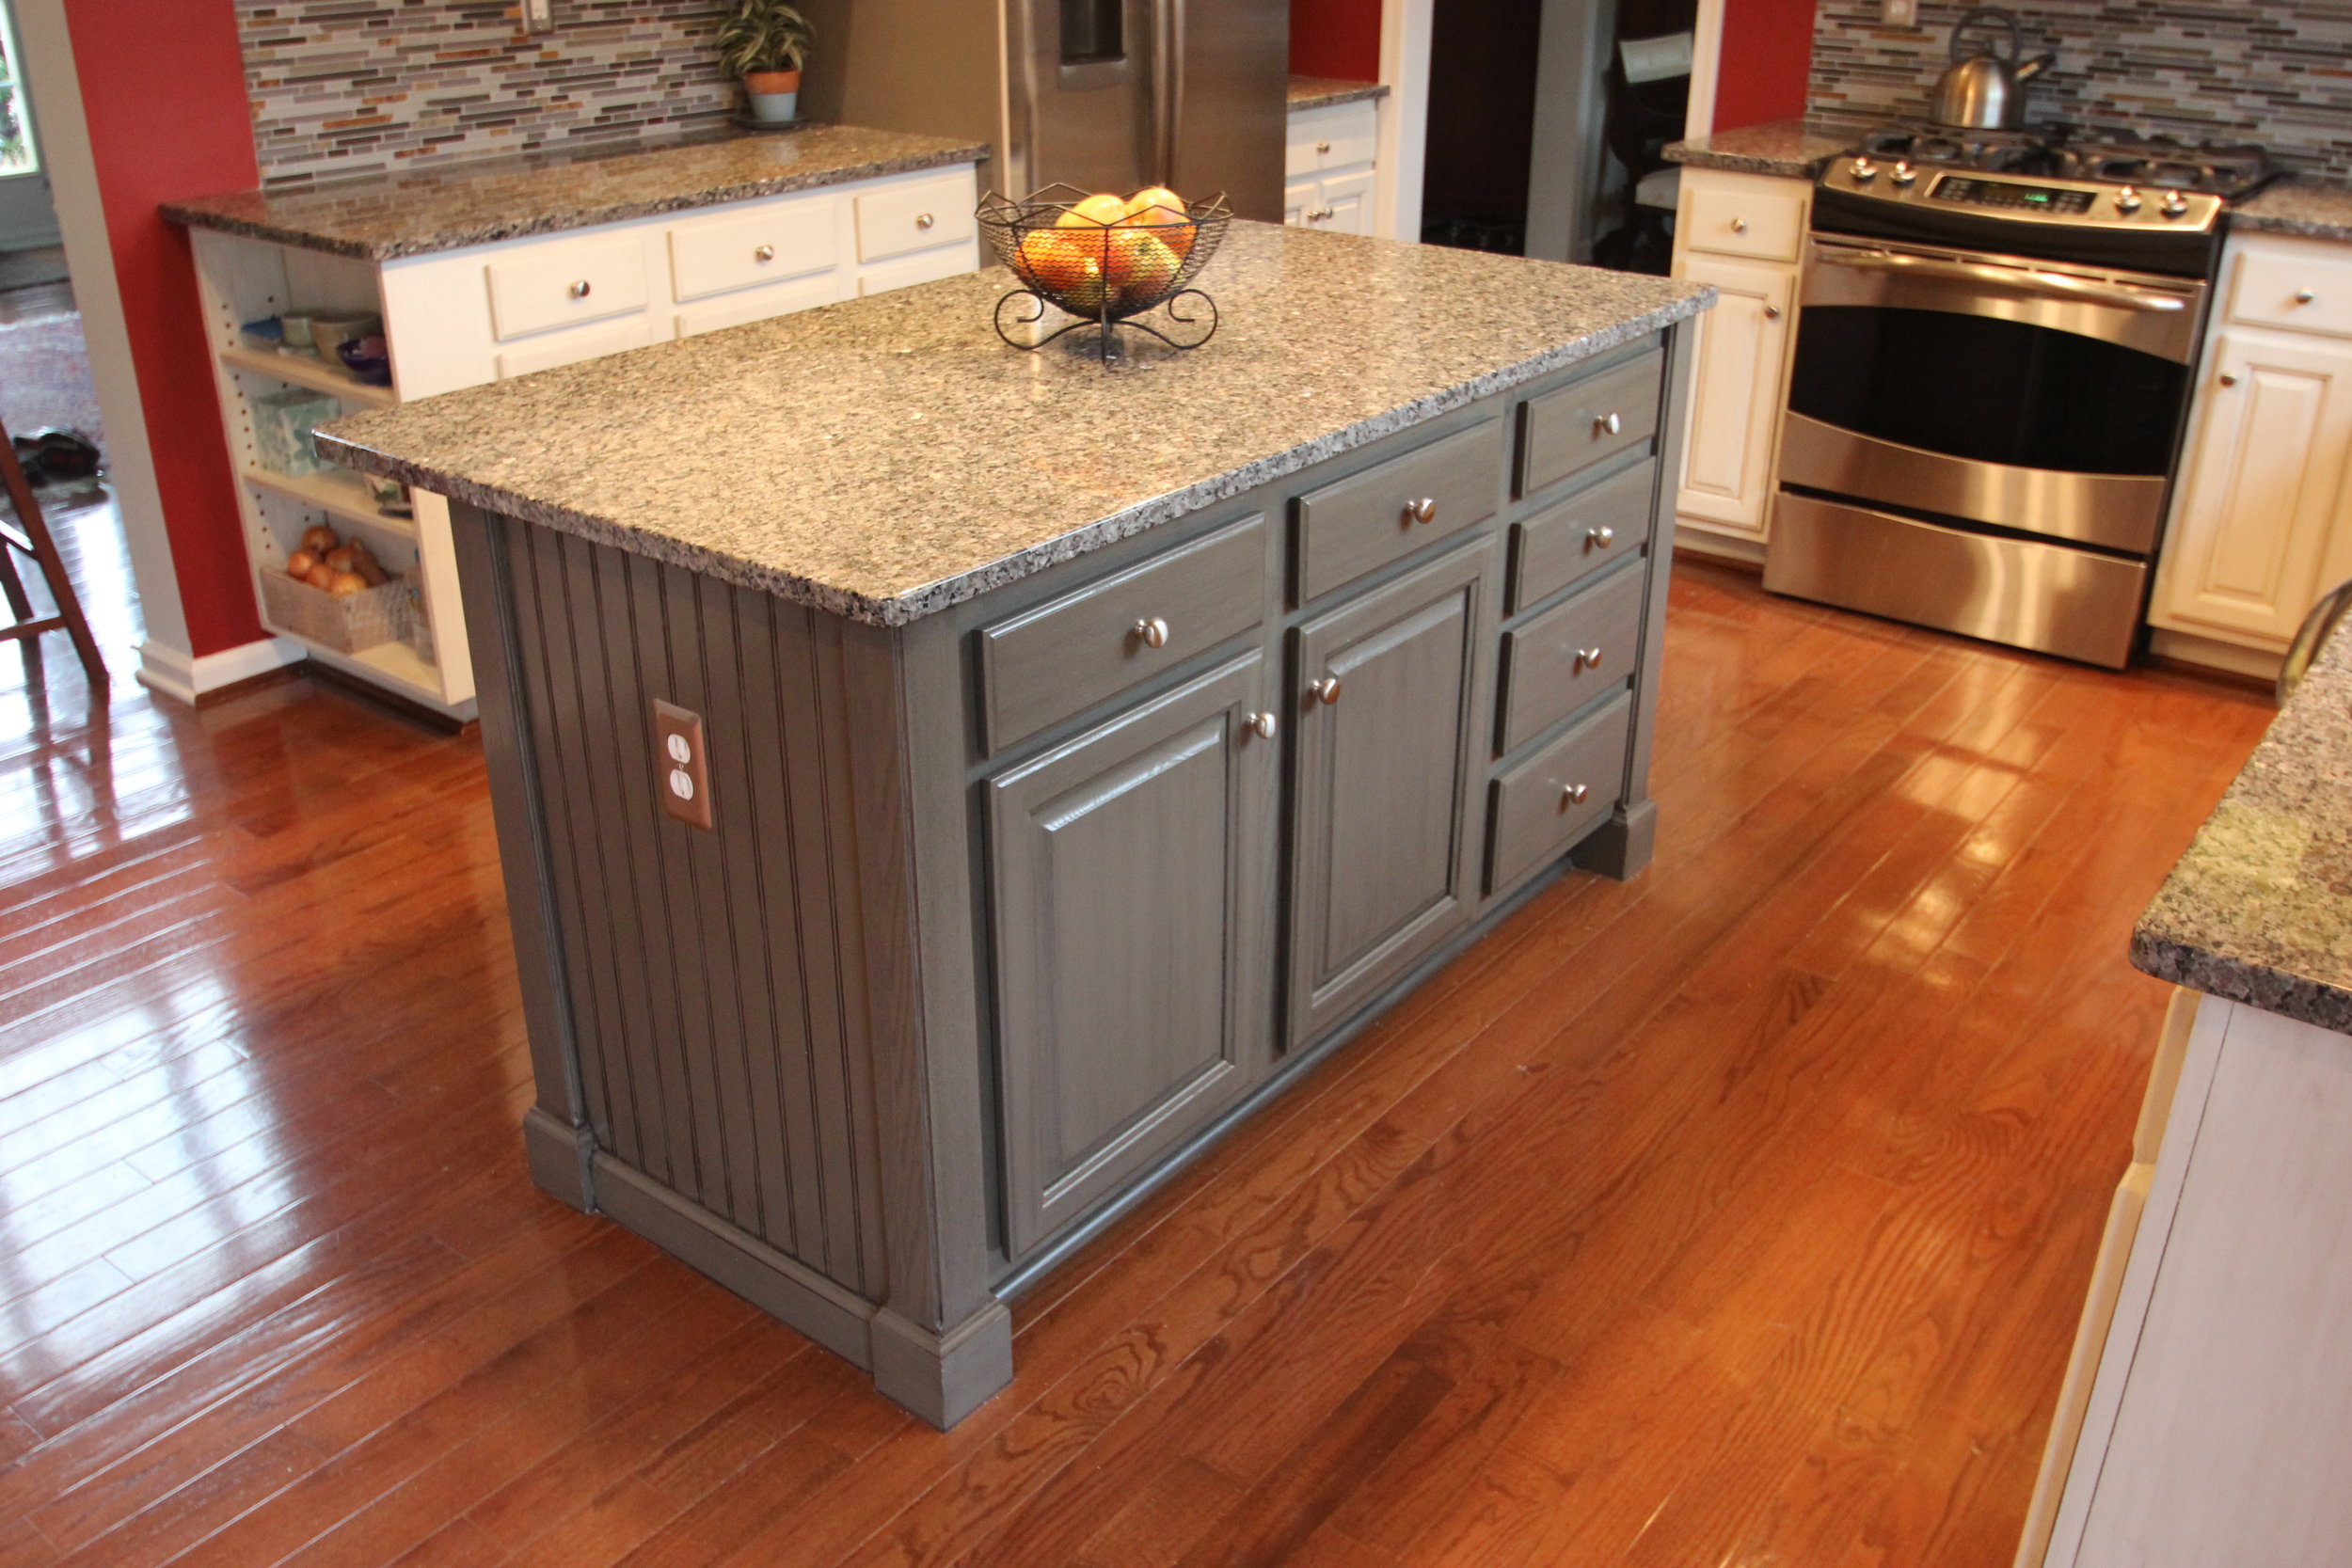
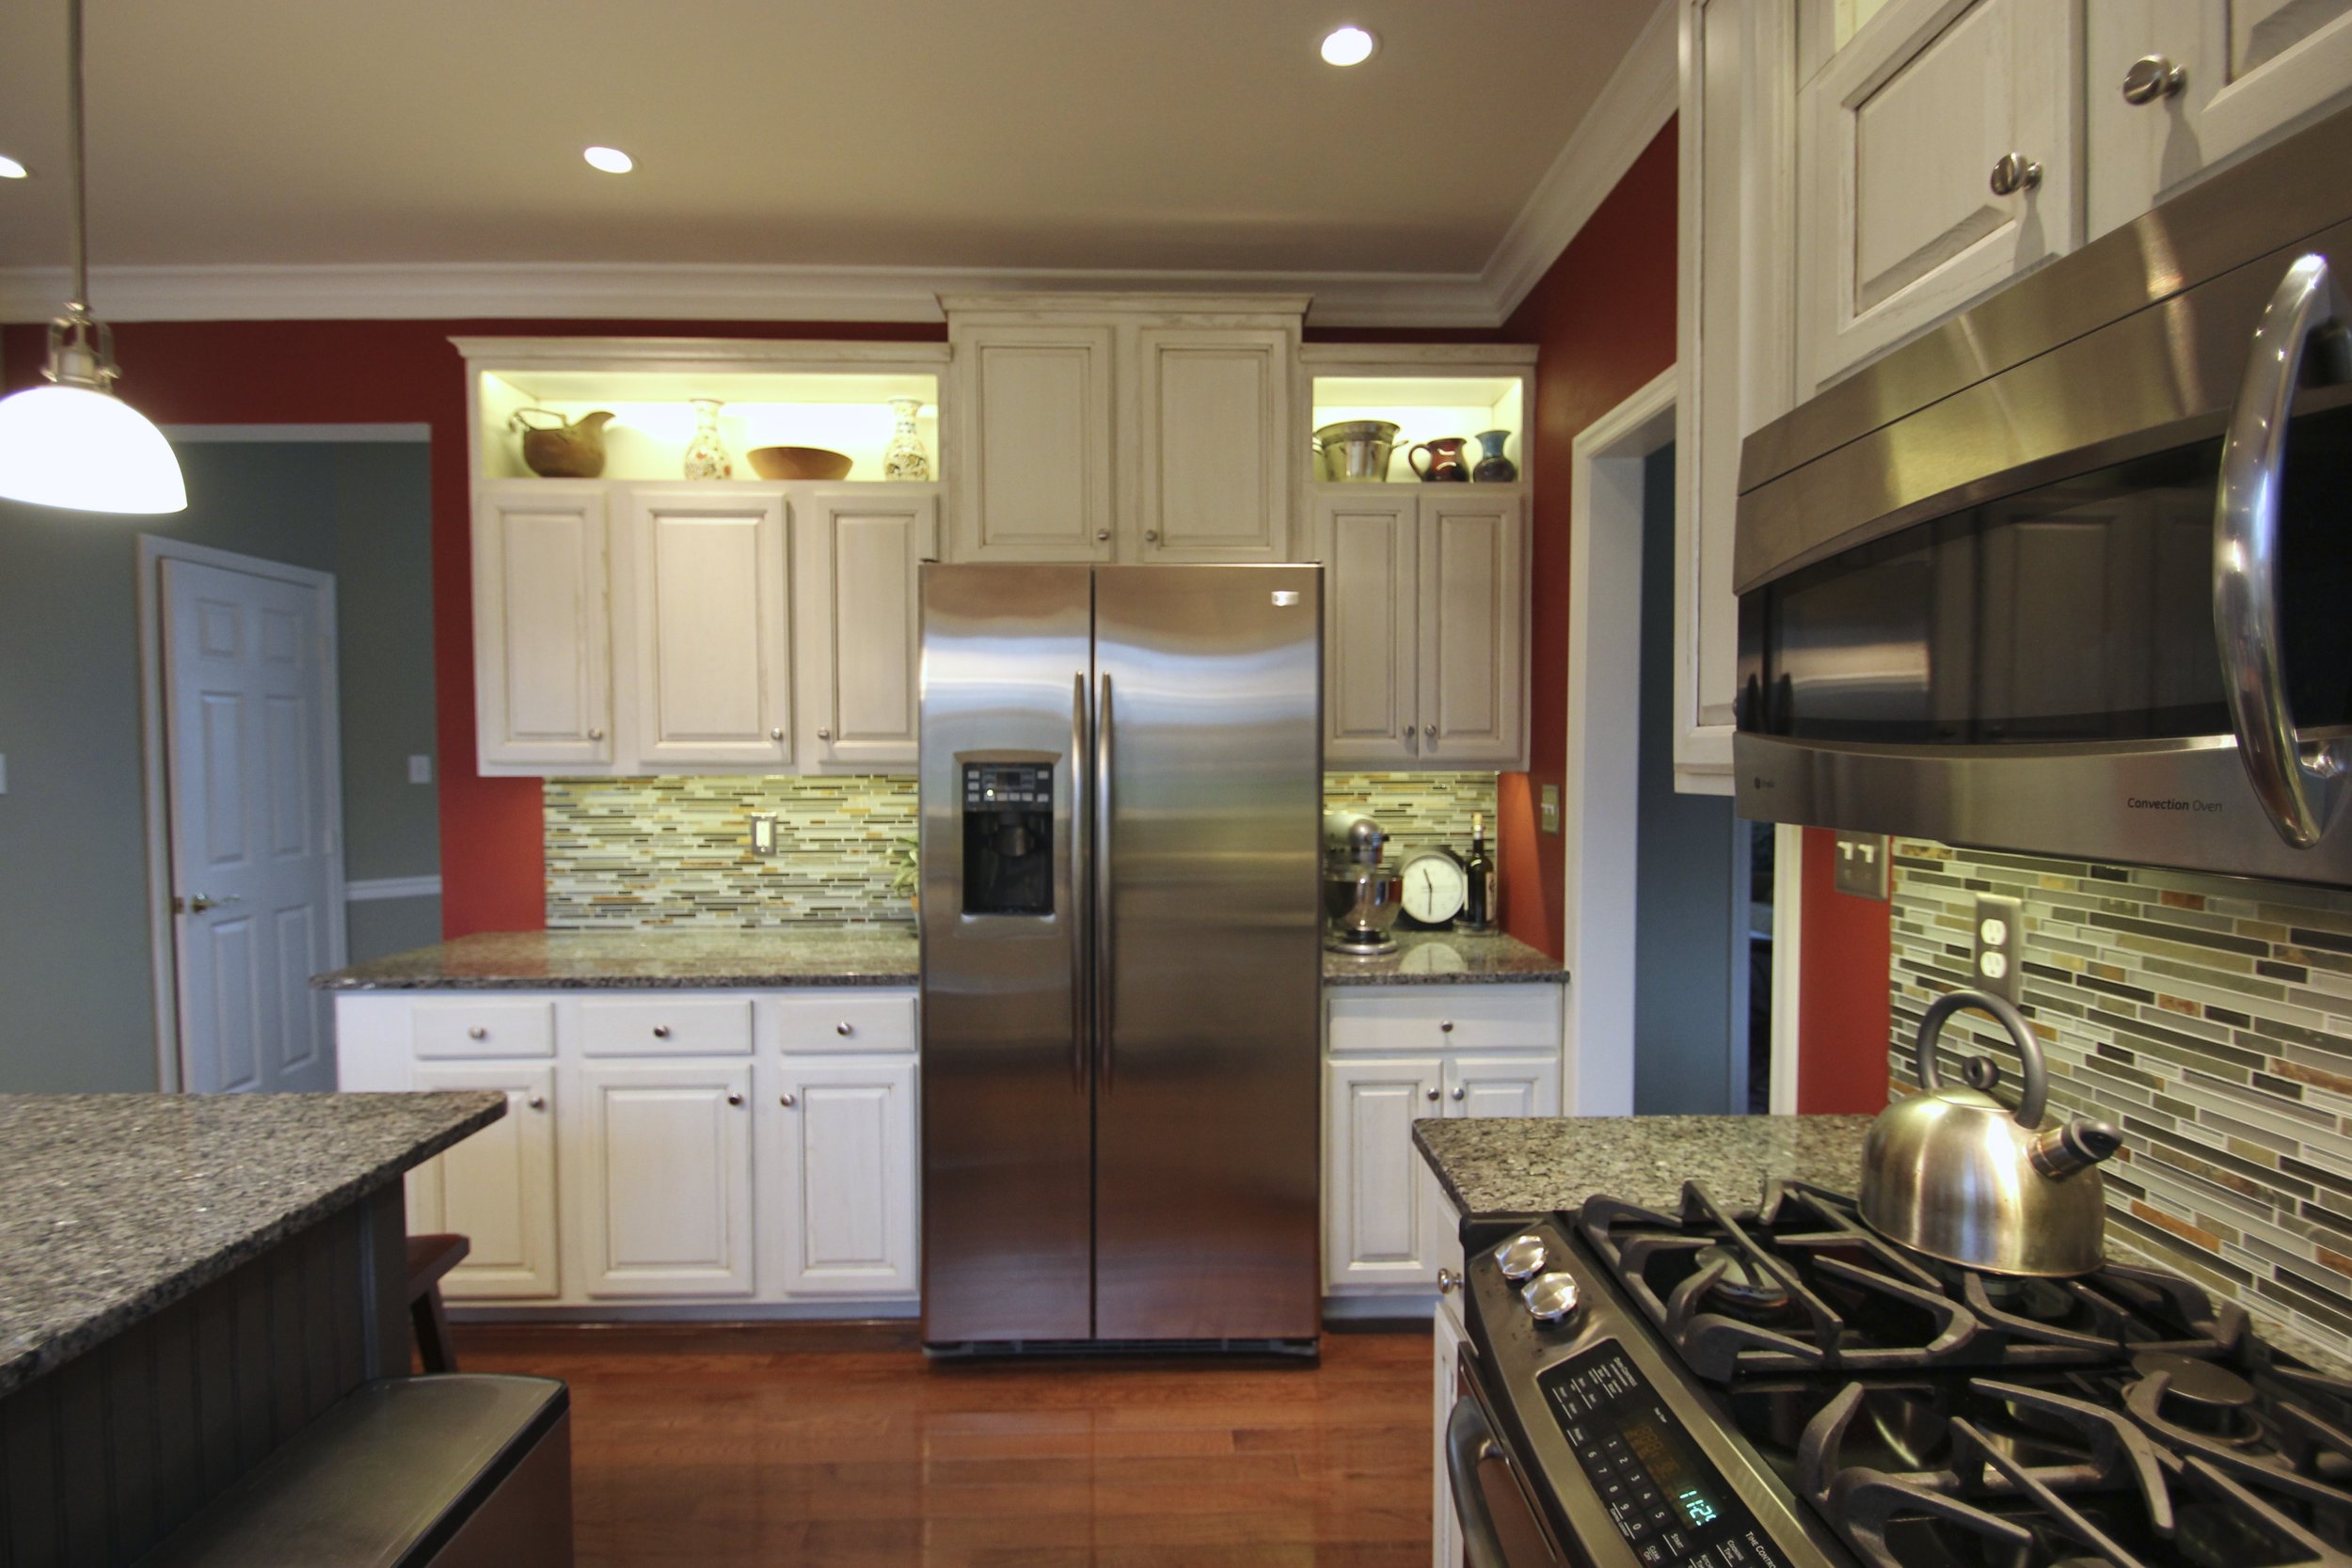
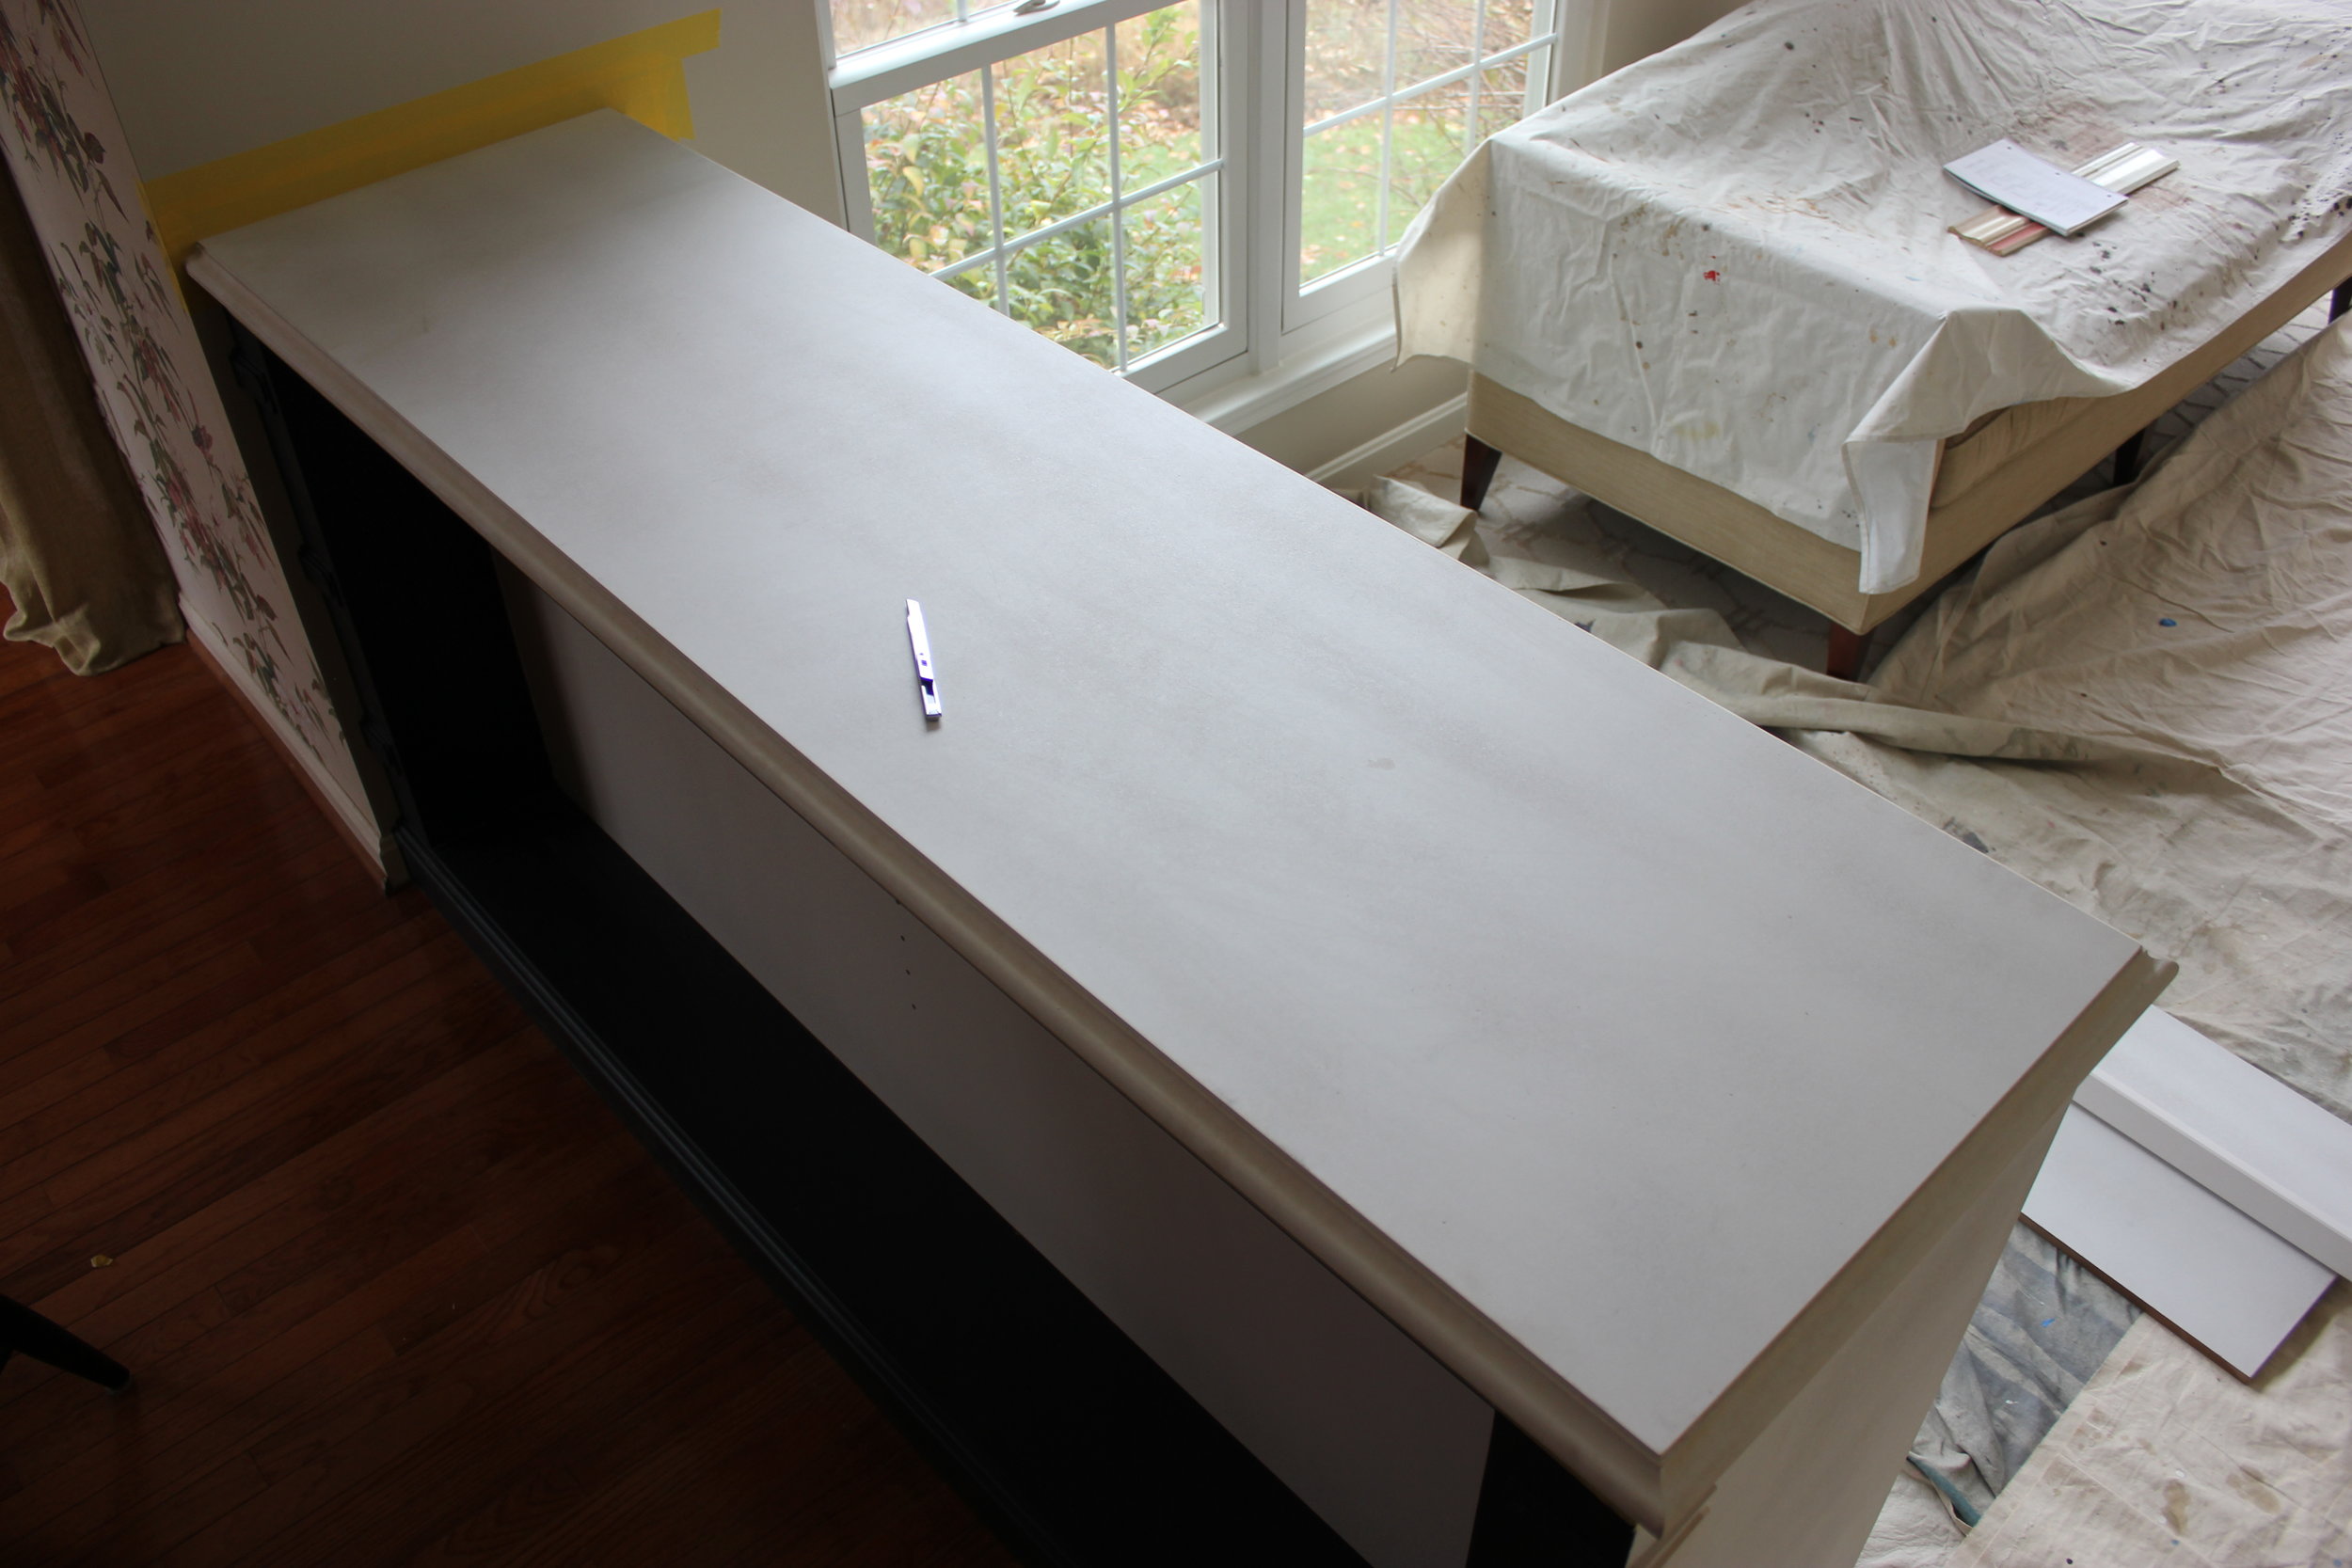
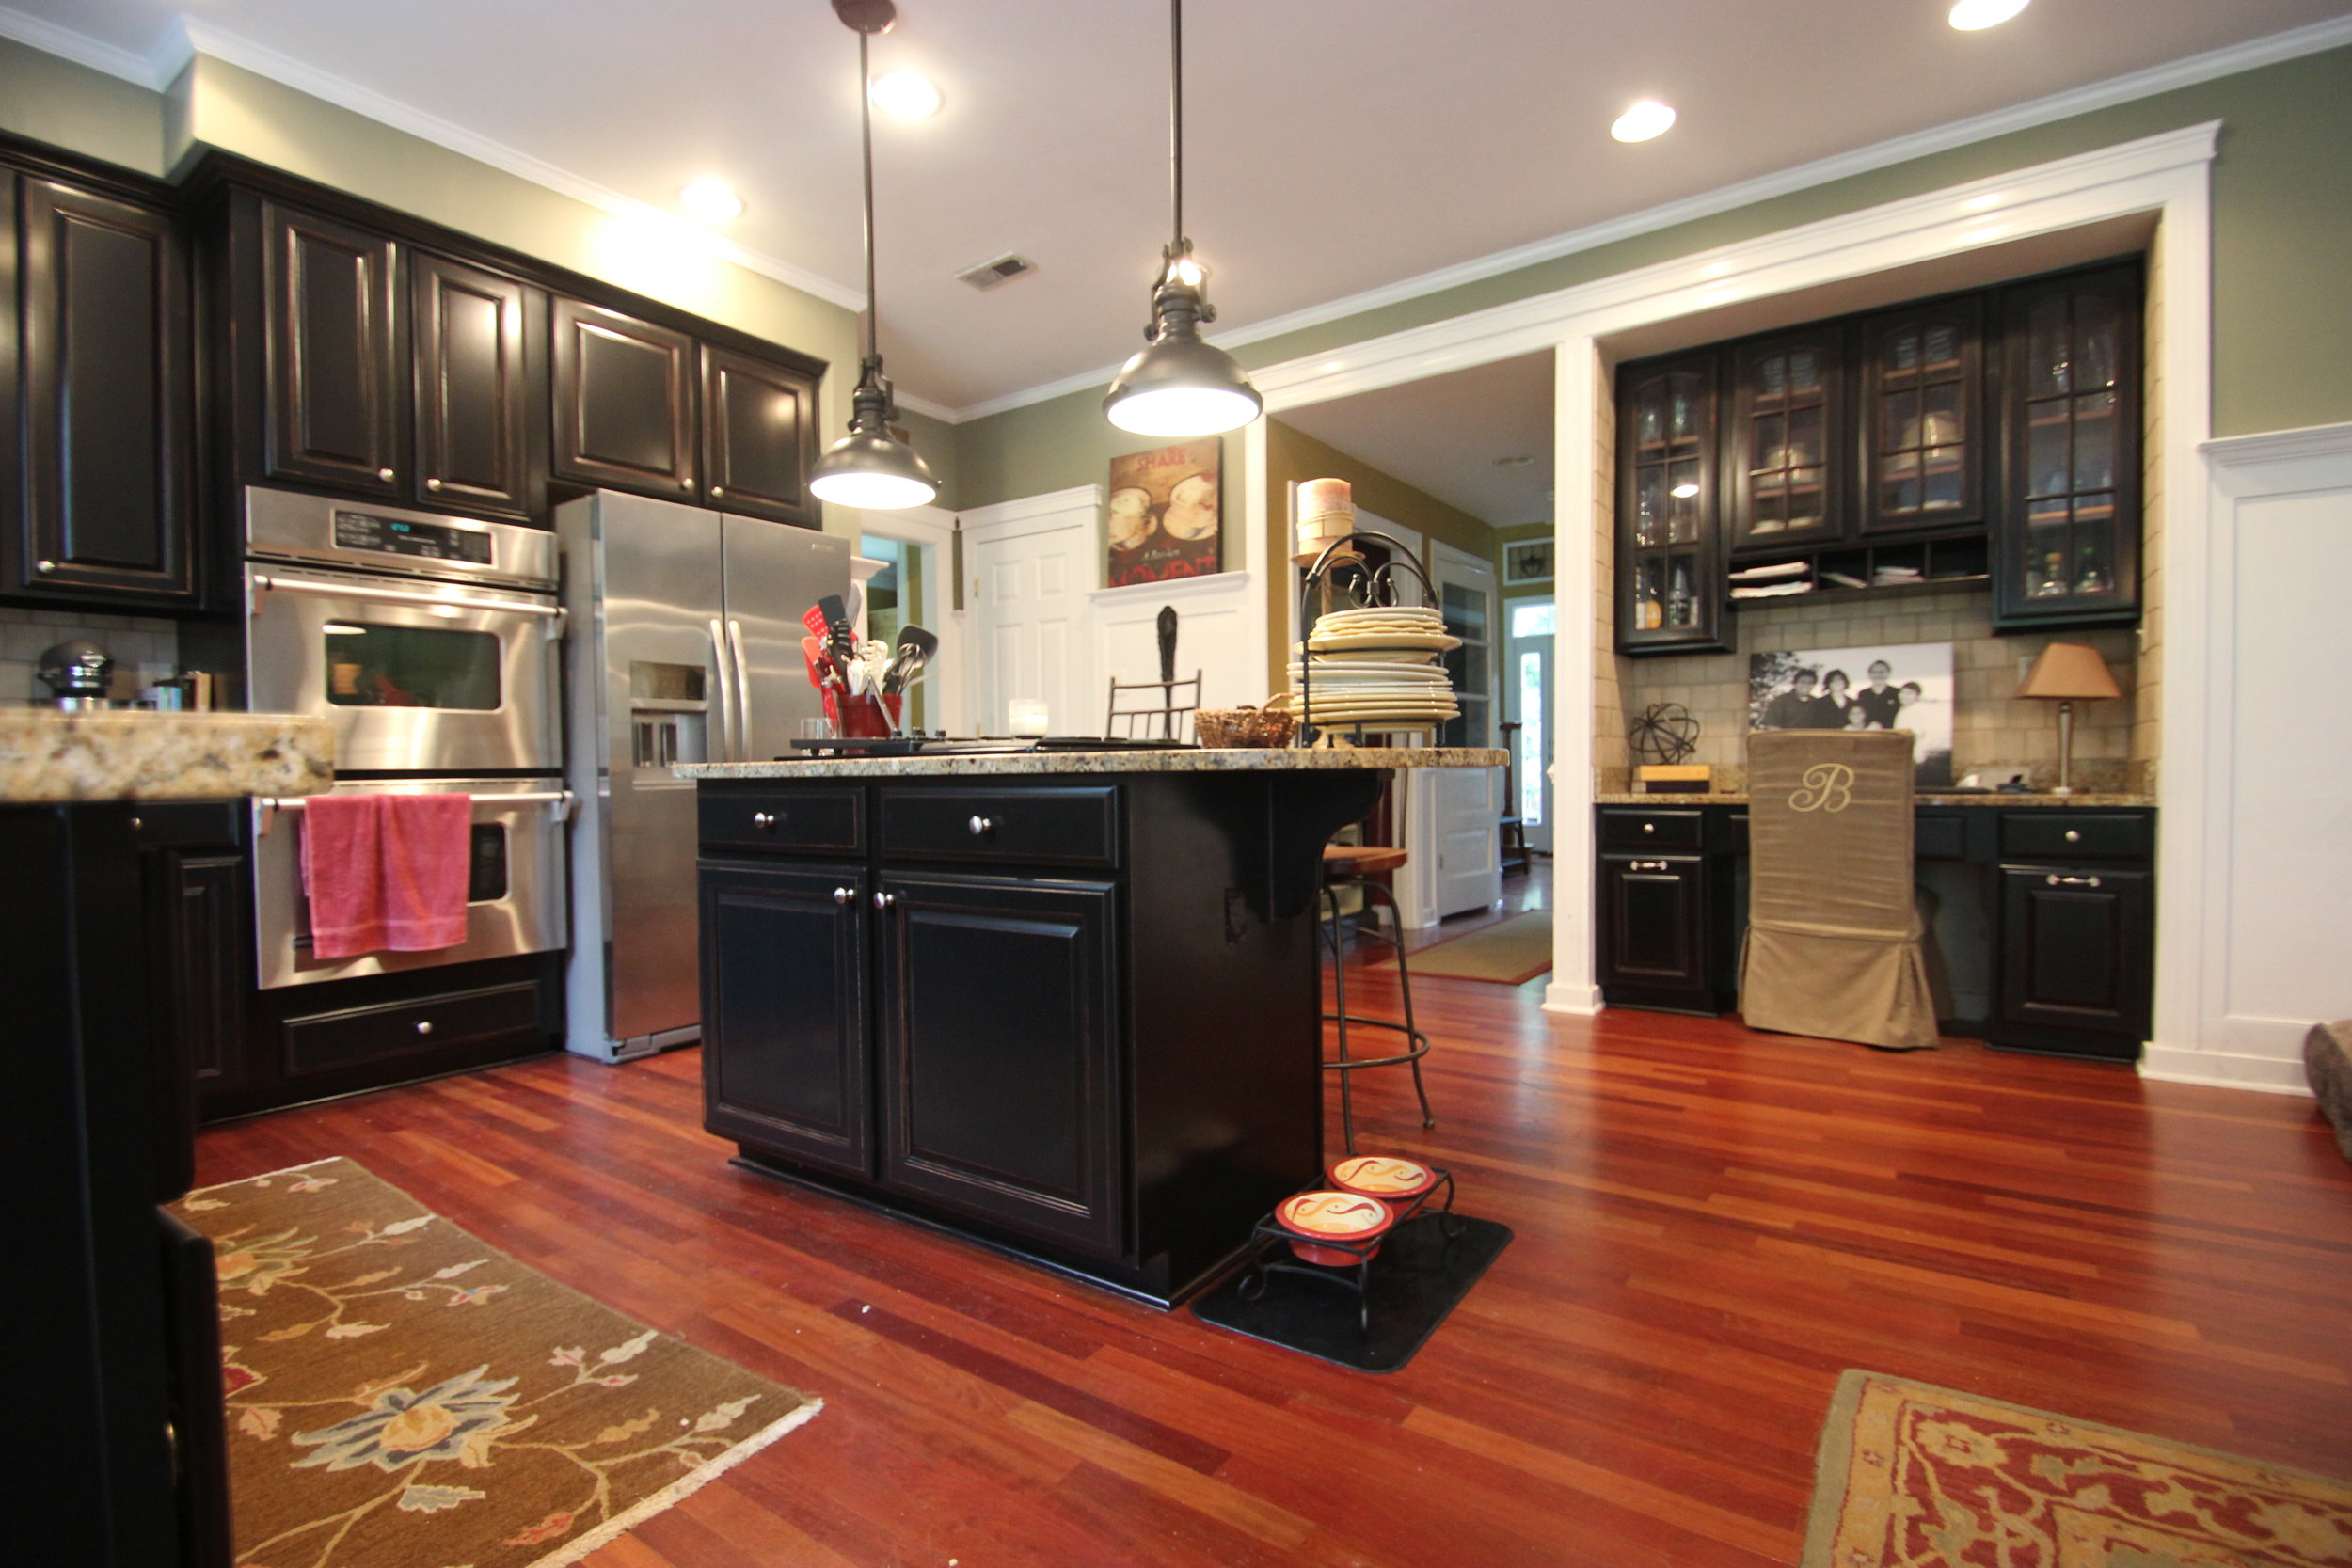
After the doors and drawers were completed it was time to tackle the kitchen itself. It took about two days to fully mask everything off. My intern's back was out so I was on my own. But once that was finished the spraying was cake. Not as many issues on the boxes so thankfully this portion went much more smoothly.
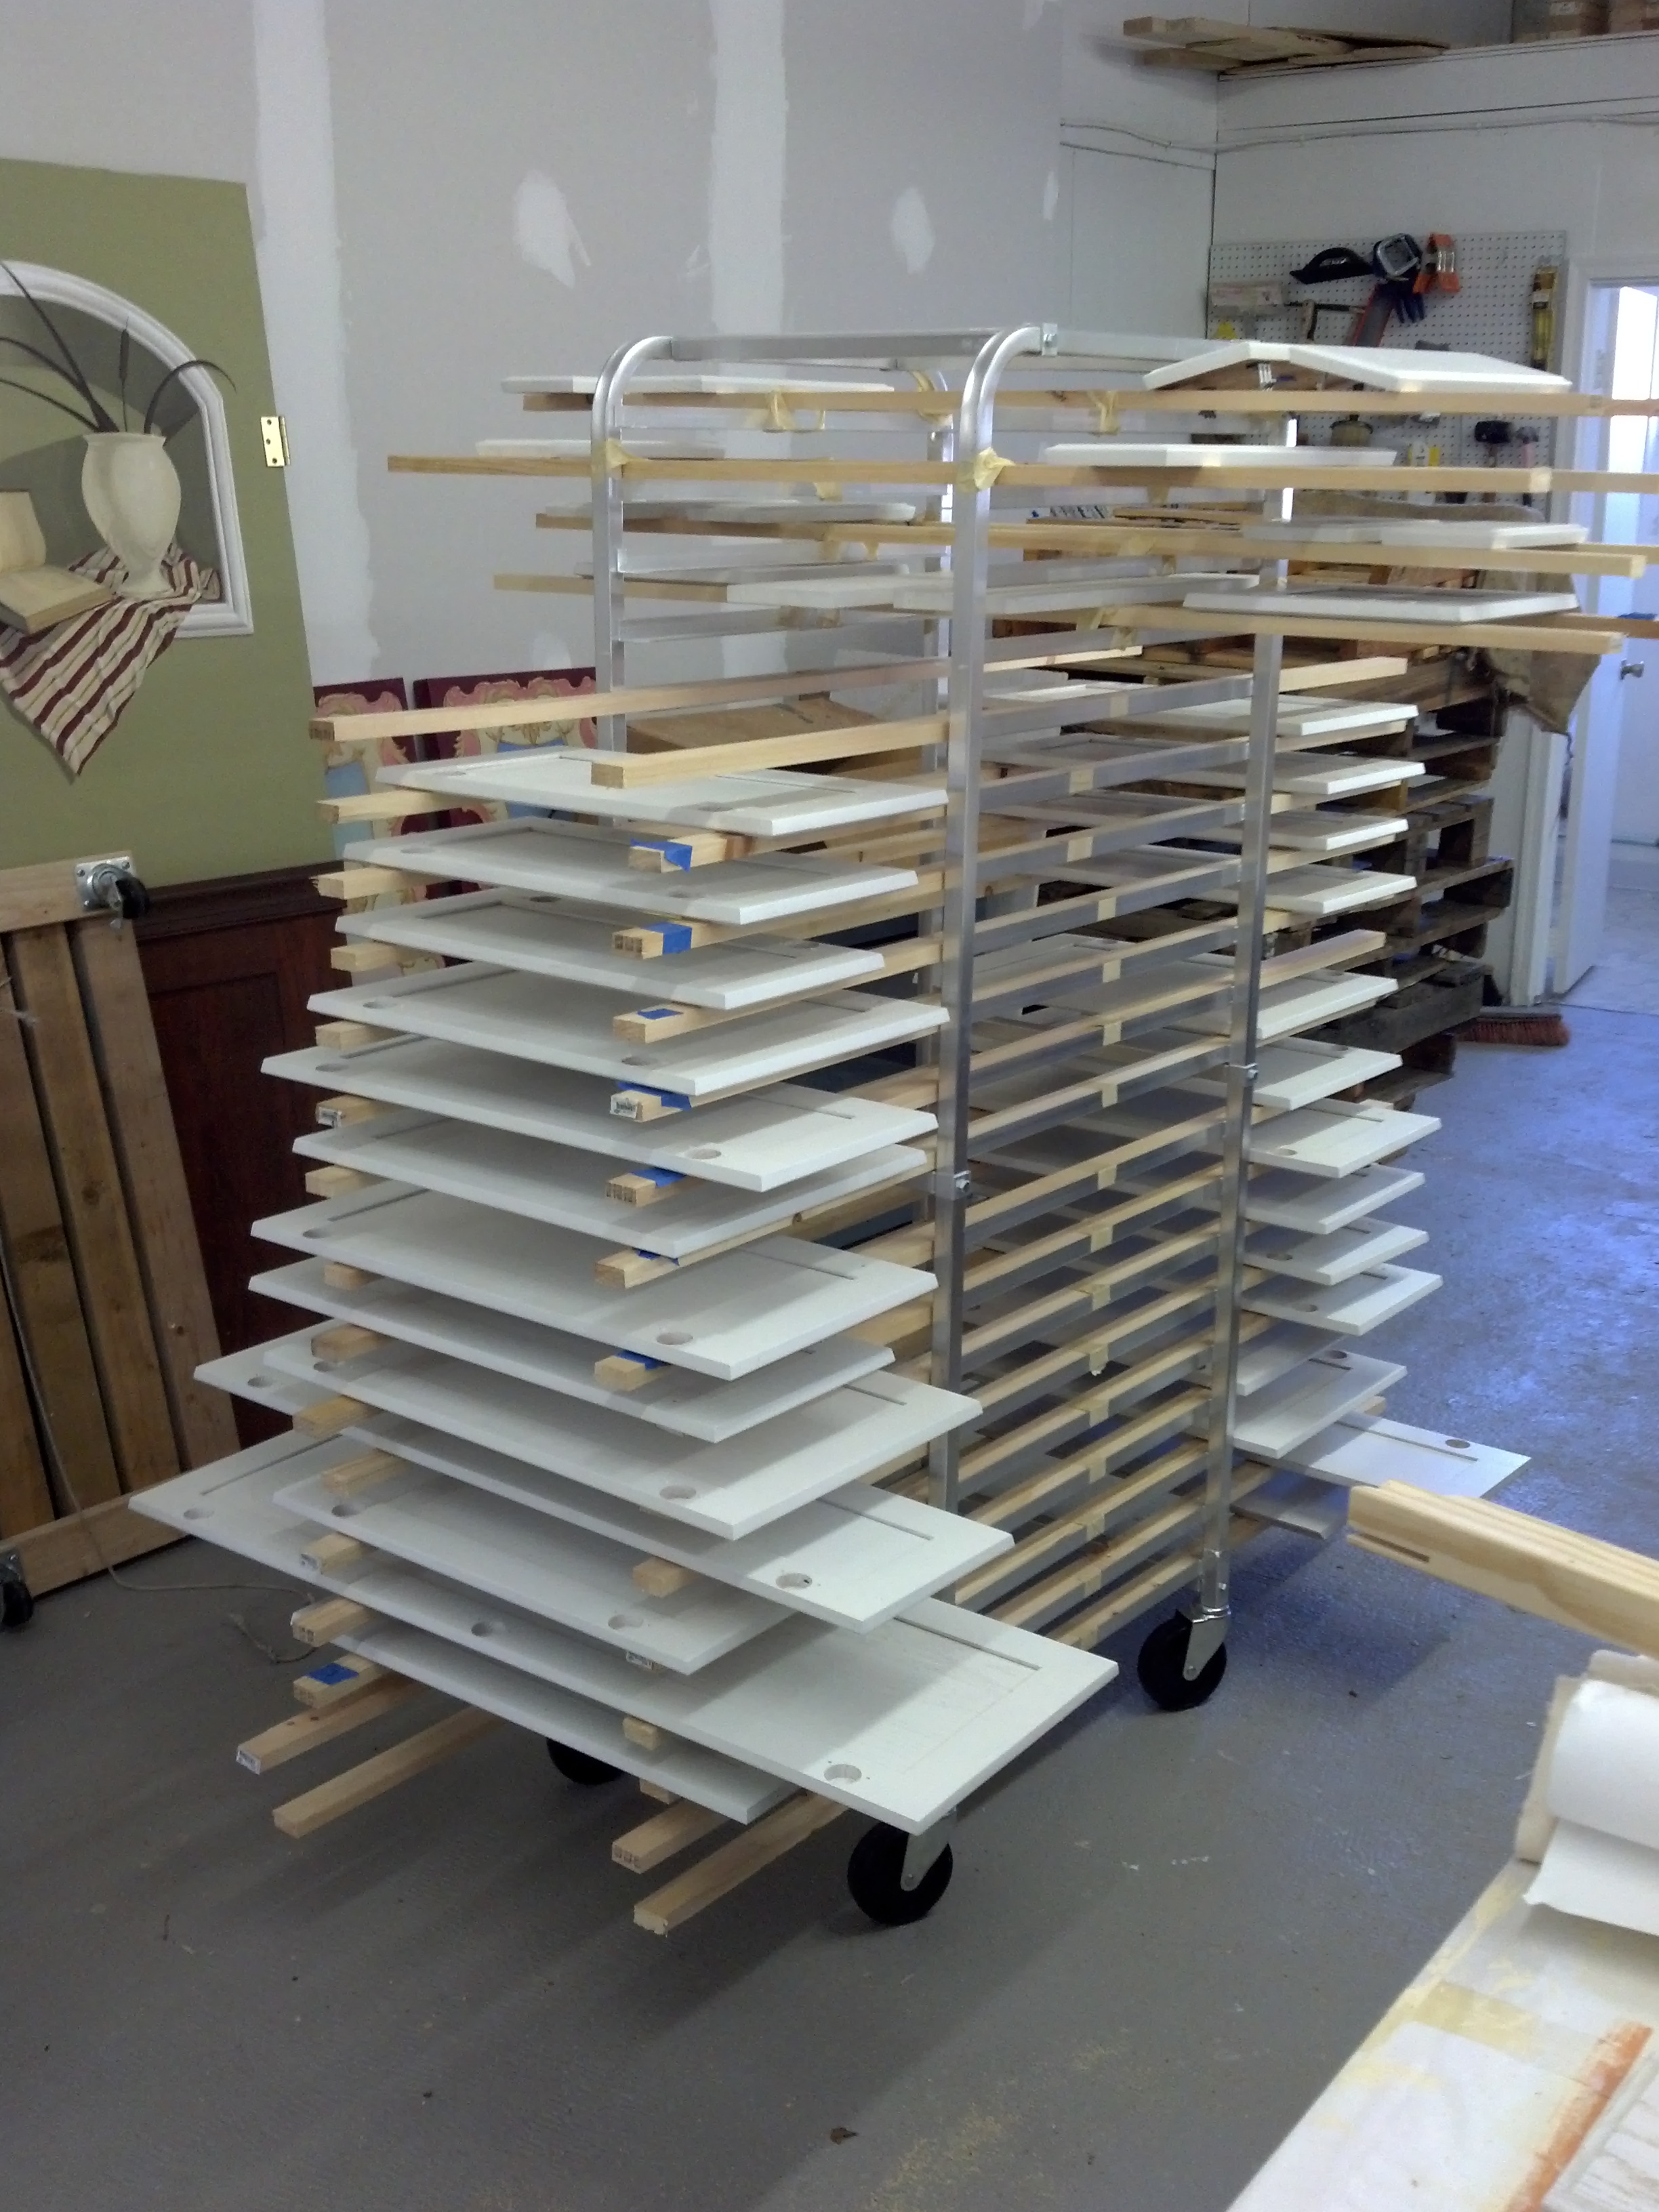
IMG_2566

IMG_2566

IMG_2568

IMG_2568

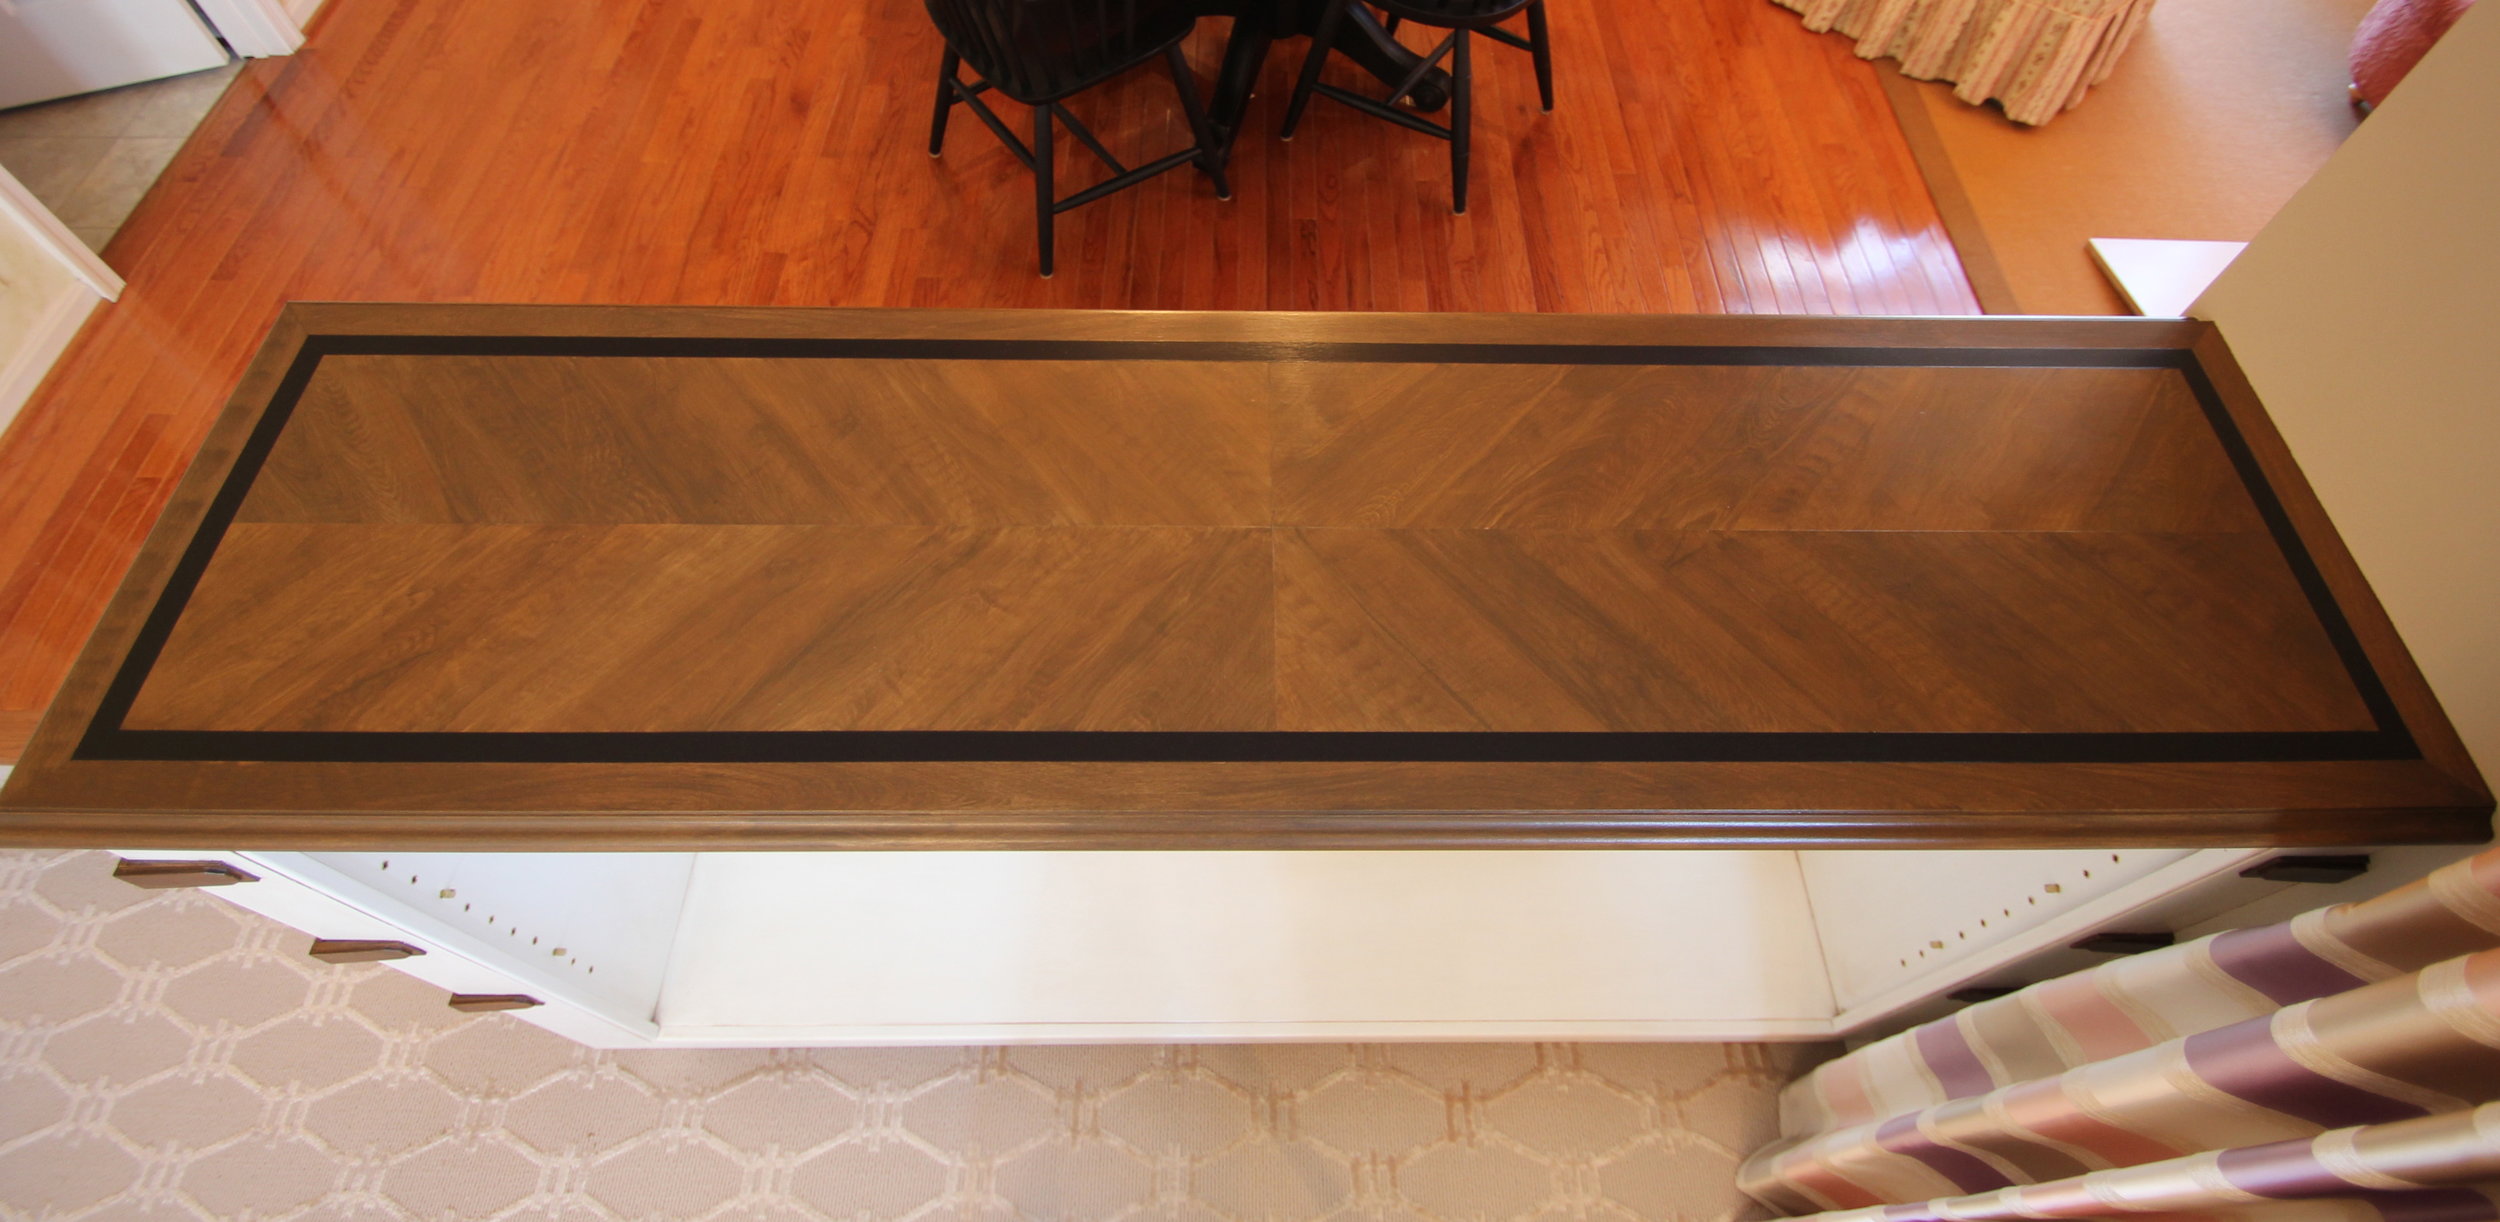
Re-installation took about a half day and the results are stunning. I will never use anything else on cabinetry. The feel and durability of lacquer far outweighs the extra time and effort of setting up and spraying it, as well as the smell. It looks so professional.

IMG_6406

IMG_6406

IMG_6404

IMG_6404

IMG_6396

IMG_6396

IMG_6395

IMG_6395

So....the clients have asked me back to do some other areas of their home. Never say Never!

Kitchen Facelift

This post has been long overdue... A few months ago I finished a kitchen cabinet redo.  The clients wanted not only to freshen up their 90's oak cabinets, but also take advantage of the 9 foot ceilings.

IMG_1466

IMG_1466

IMG_1465

IMG_1465

IMG_1463

IMG_1463

Enter Gael Summerhill. Gael is one half of Summerhill Cabinets.  They do amazing things with wood.  Gael came out with me and helped design some upper display areas and dress things up with some crown.  They also added trim and base molding to the island and added a little shelf unit to the end of one of the rows of cabinets.

2012-10-24_16-09-05_877

2012-10-24_16-09-05_877

2012-10-24_16-08-46_679

2012-10-24_16-08-46_679

IMG_1877

IMG_1877

IMG_1871

IMG_1871

After their work, I painted everything.  I sprayed the doors and drawers in my shop and then set up my equipment to spray on site.  Setting up is the biggest pain in the butt but what a difference it makes when you are painting.

IMG_2430

IMG_2430

IMG_2420

IMG_2420

IMG_2419

IMG_2419

The after is to die for.  If I do say so myself. :) It helped that the clients updated their appliances and installed a new backsplash and counters. Notice the new lighting under the cabinets and inside the display areas? Summerhills.  Yeah, they rock.

Its much more economical than ripping everything out and replacing them.

Have a great Memorial Day weekend!

Pretty in Pink and Purple

A repeat client of mine who originally met me through the Ellicott City Decorator Showhouses, asked me for my recommendation for a designer to help redecorate her family room.  Of course I recommended Paula Henry of Simply Put Interiors, the designer with whom I've painted countless Decorator Showhouses.  Paula transformed her family room into a jaw dropping gorgeous pink and purple Hollywood Regency-esque retreat! Before: (I had recently glazed the fireplace about 3 months ago...)

IMG_0907

IMG_0907

And after...POW!

IMG_1917

IMG_1917

A close up of the fireplace I redid and the wall with the custom cut stencils I made that reflect the fabric on the chairs:

IMG_1925

IMG_1925

A railing was replaced with a custom-built bookcase by Summerhill Cabinets.  I woodgrained the top in a marquetry design with a black inlay.  The client reads extensively and Paula thought it would be a great idea to have a place for her books.

Here's the before:

IMG_1894

IMG_1894

And After:

IMG_1908

IMG_1908

IMG_1910

IMG_1910

And...

A tiny little update on a very tedious project that I'm doing at my studio, getting ready for my Open House-Grand Opening-Partay!

2012-11-14_16-34-11_918

2012-11-14_16-34-11_918

(Nevermind the paint on my hands.)

Old Line State

Image

Image

So in response to all the Union Jack dressers I've seen lately, I've decided to fly my state's colors (well, sorta.) I found this dresser on craigslist a few months ago.

So on my week off from real painting I transformed it with some custom mixed Annie Sloan Chalk Paints.  I decided to keep it tonal so that it would fit in more subtly with its surrounding decor.

Image

Image

Feel free to contact me with any orders you may require! (Mikey won't let me sell this one cause "we never keep any cool stuff!")

(linked to Miss Mustard Seed and Elizabeth and Co.)

A Fresh Coat of Paint

china cab before

china cab before

Recently, April Force Pardoe, principal of AFP Interiors contacted me to see if I would be willing to tackle this china cabinet. She had found it at Habitat ReStore in Halethorpe. Upon closer inspection it was in great shape and just needed to be freshened up.  The client wanted something hip and so she and April decided on Turquoise! My favorite color!!!!

IMG_0166

IMG_0166

(Pardon the quality, Ill be going back to take good pictures)

I used some Annie Sloan Chalk Paint and custom tinted it to match the Sherwin Williams color they had chose.  It was delivered yesterday and the client sent me the most heartwarming email thanking me.  Thats what its all about!!

Thanks April and Shayla!