Modern Chinoiserie

IMG_1652

IMG_1652

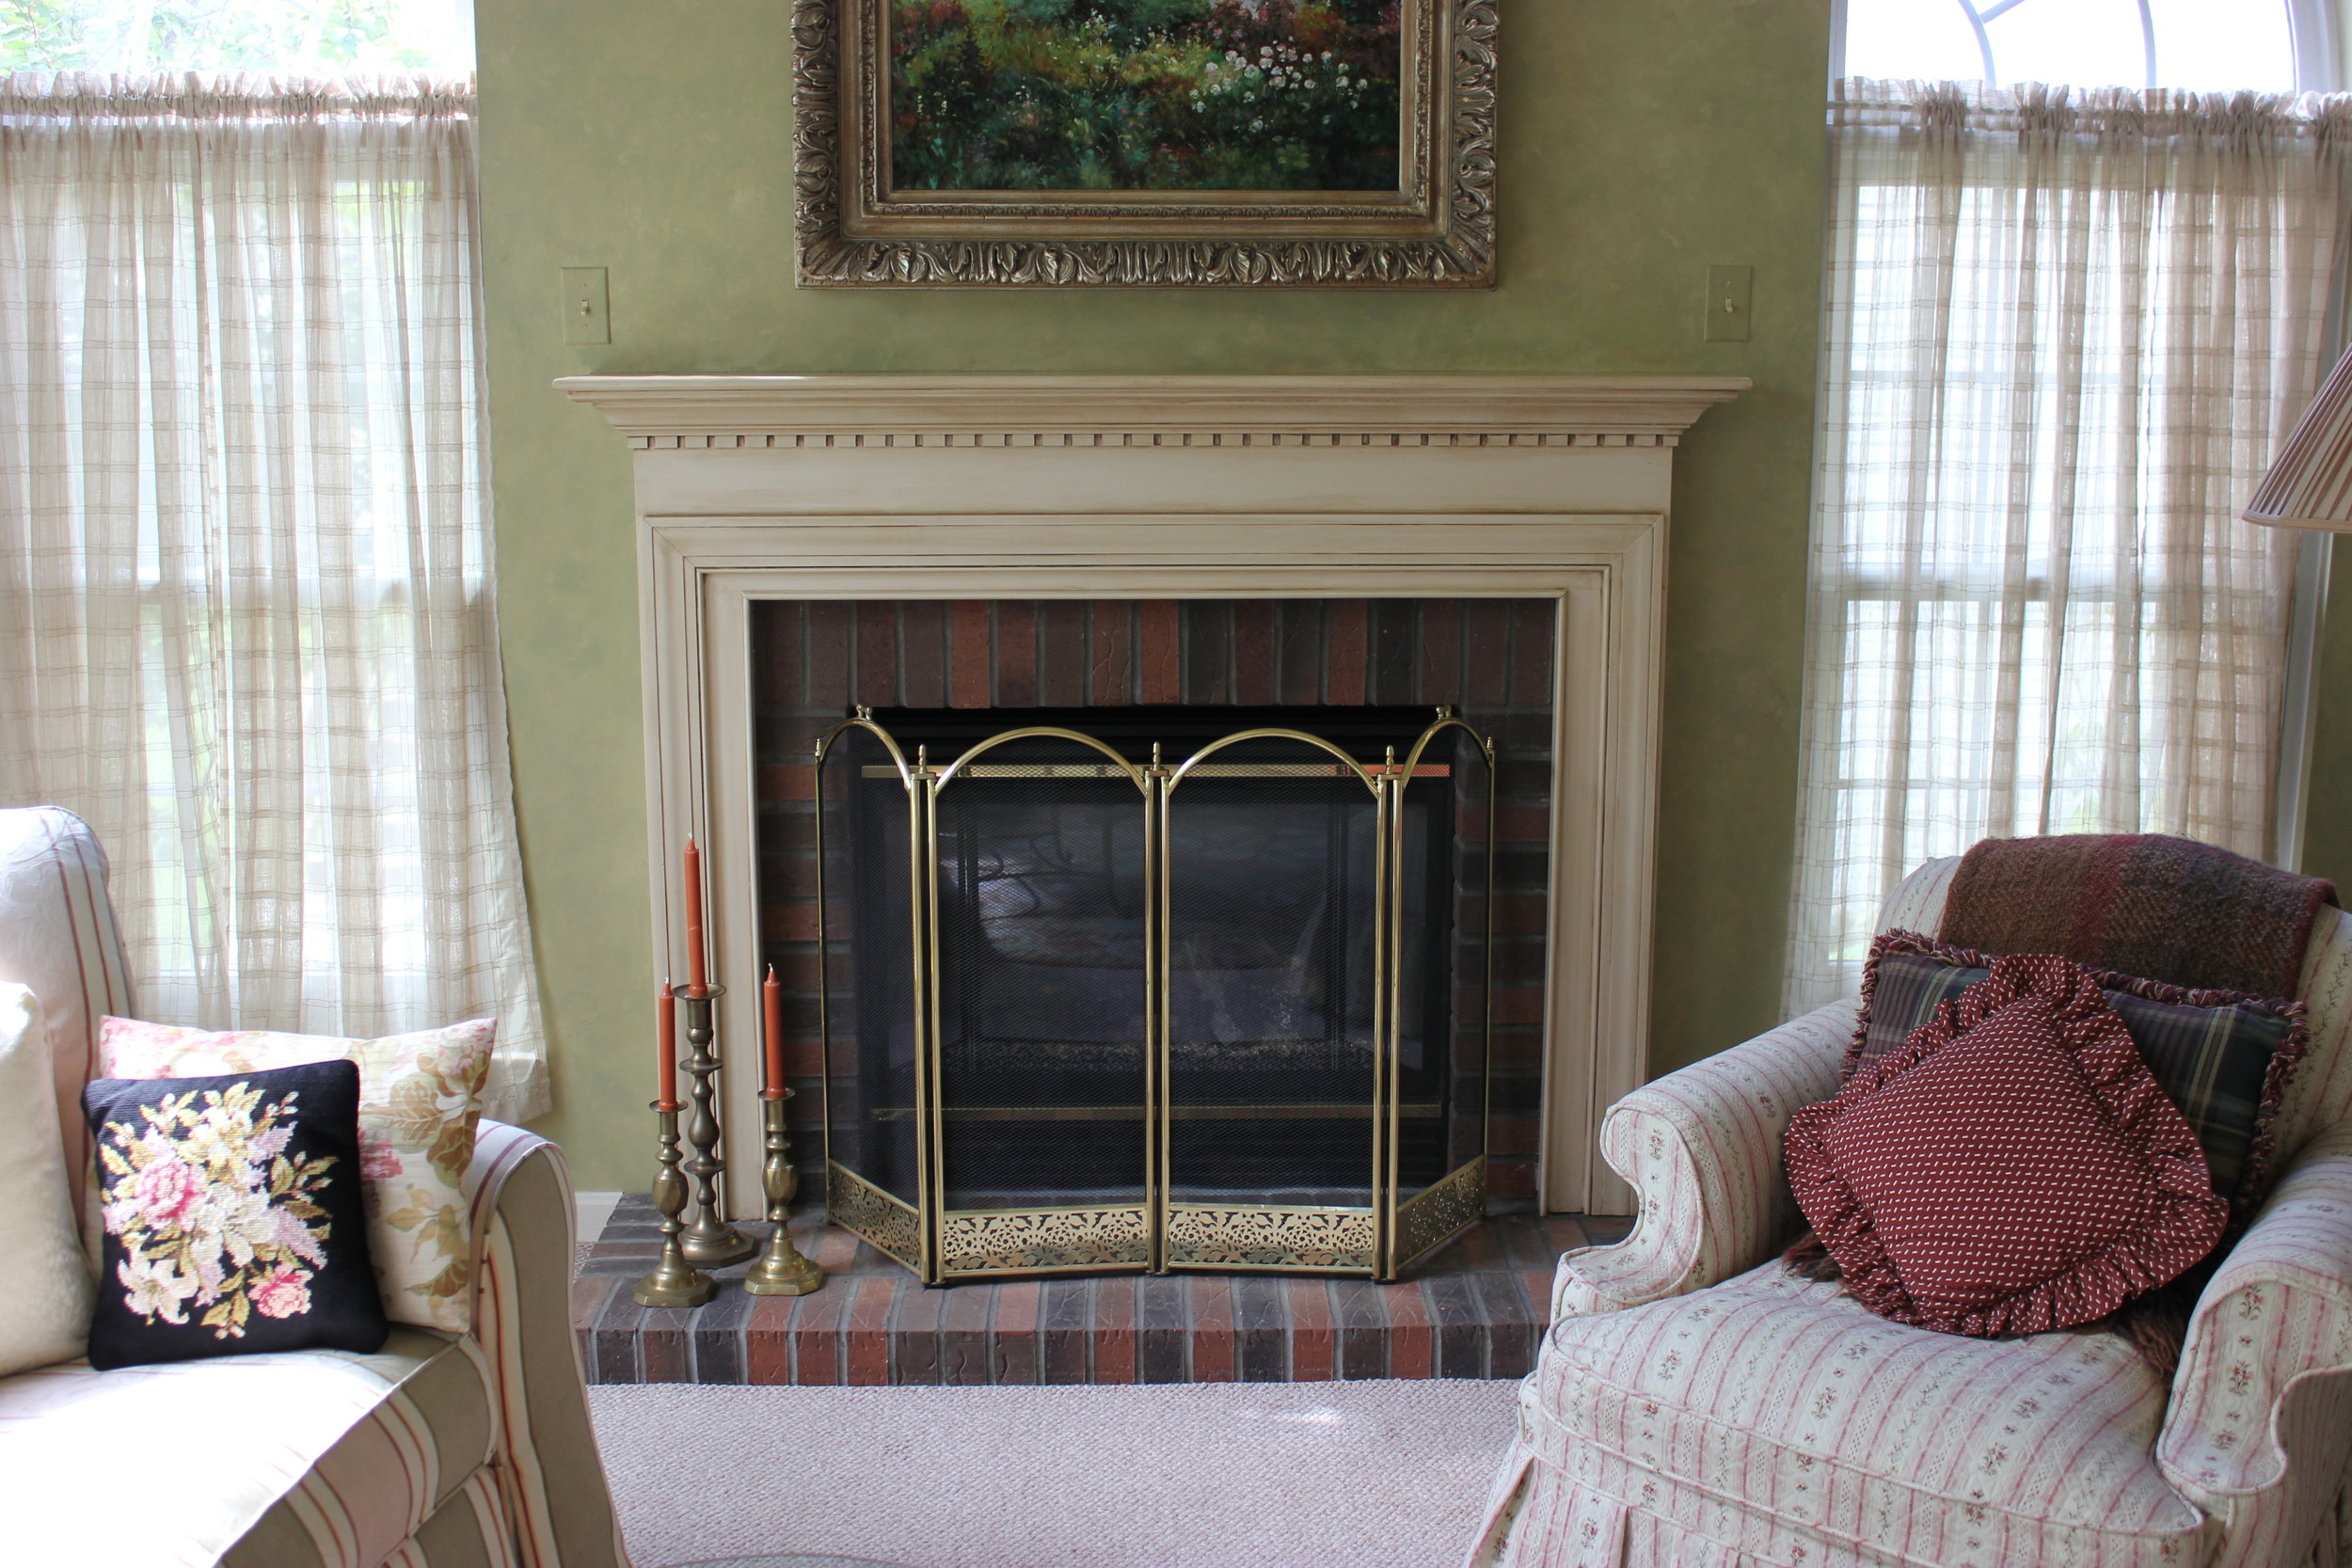
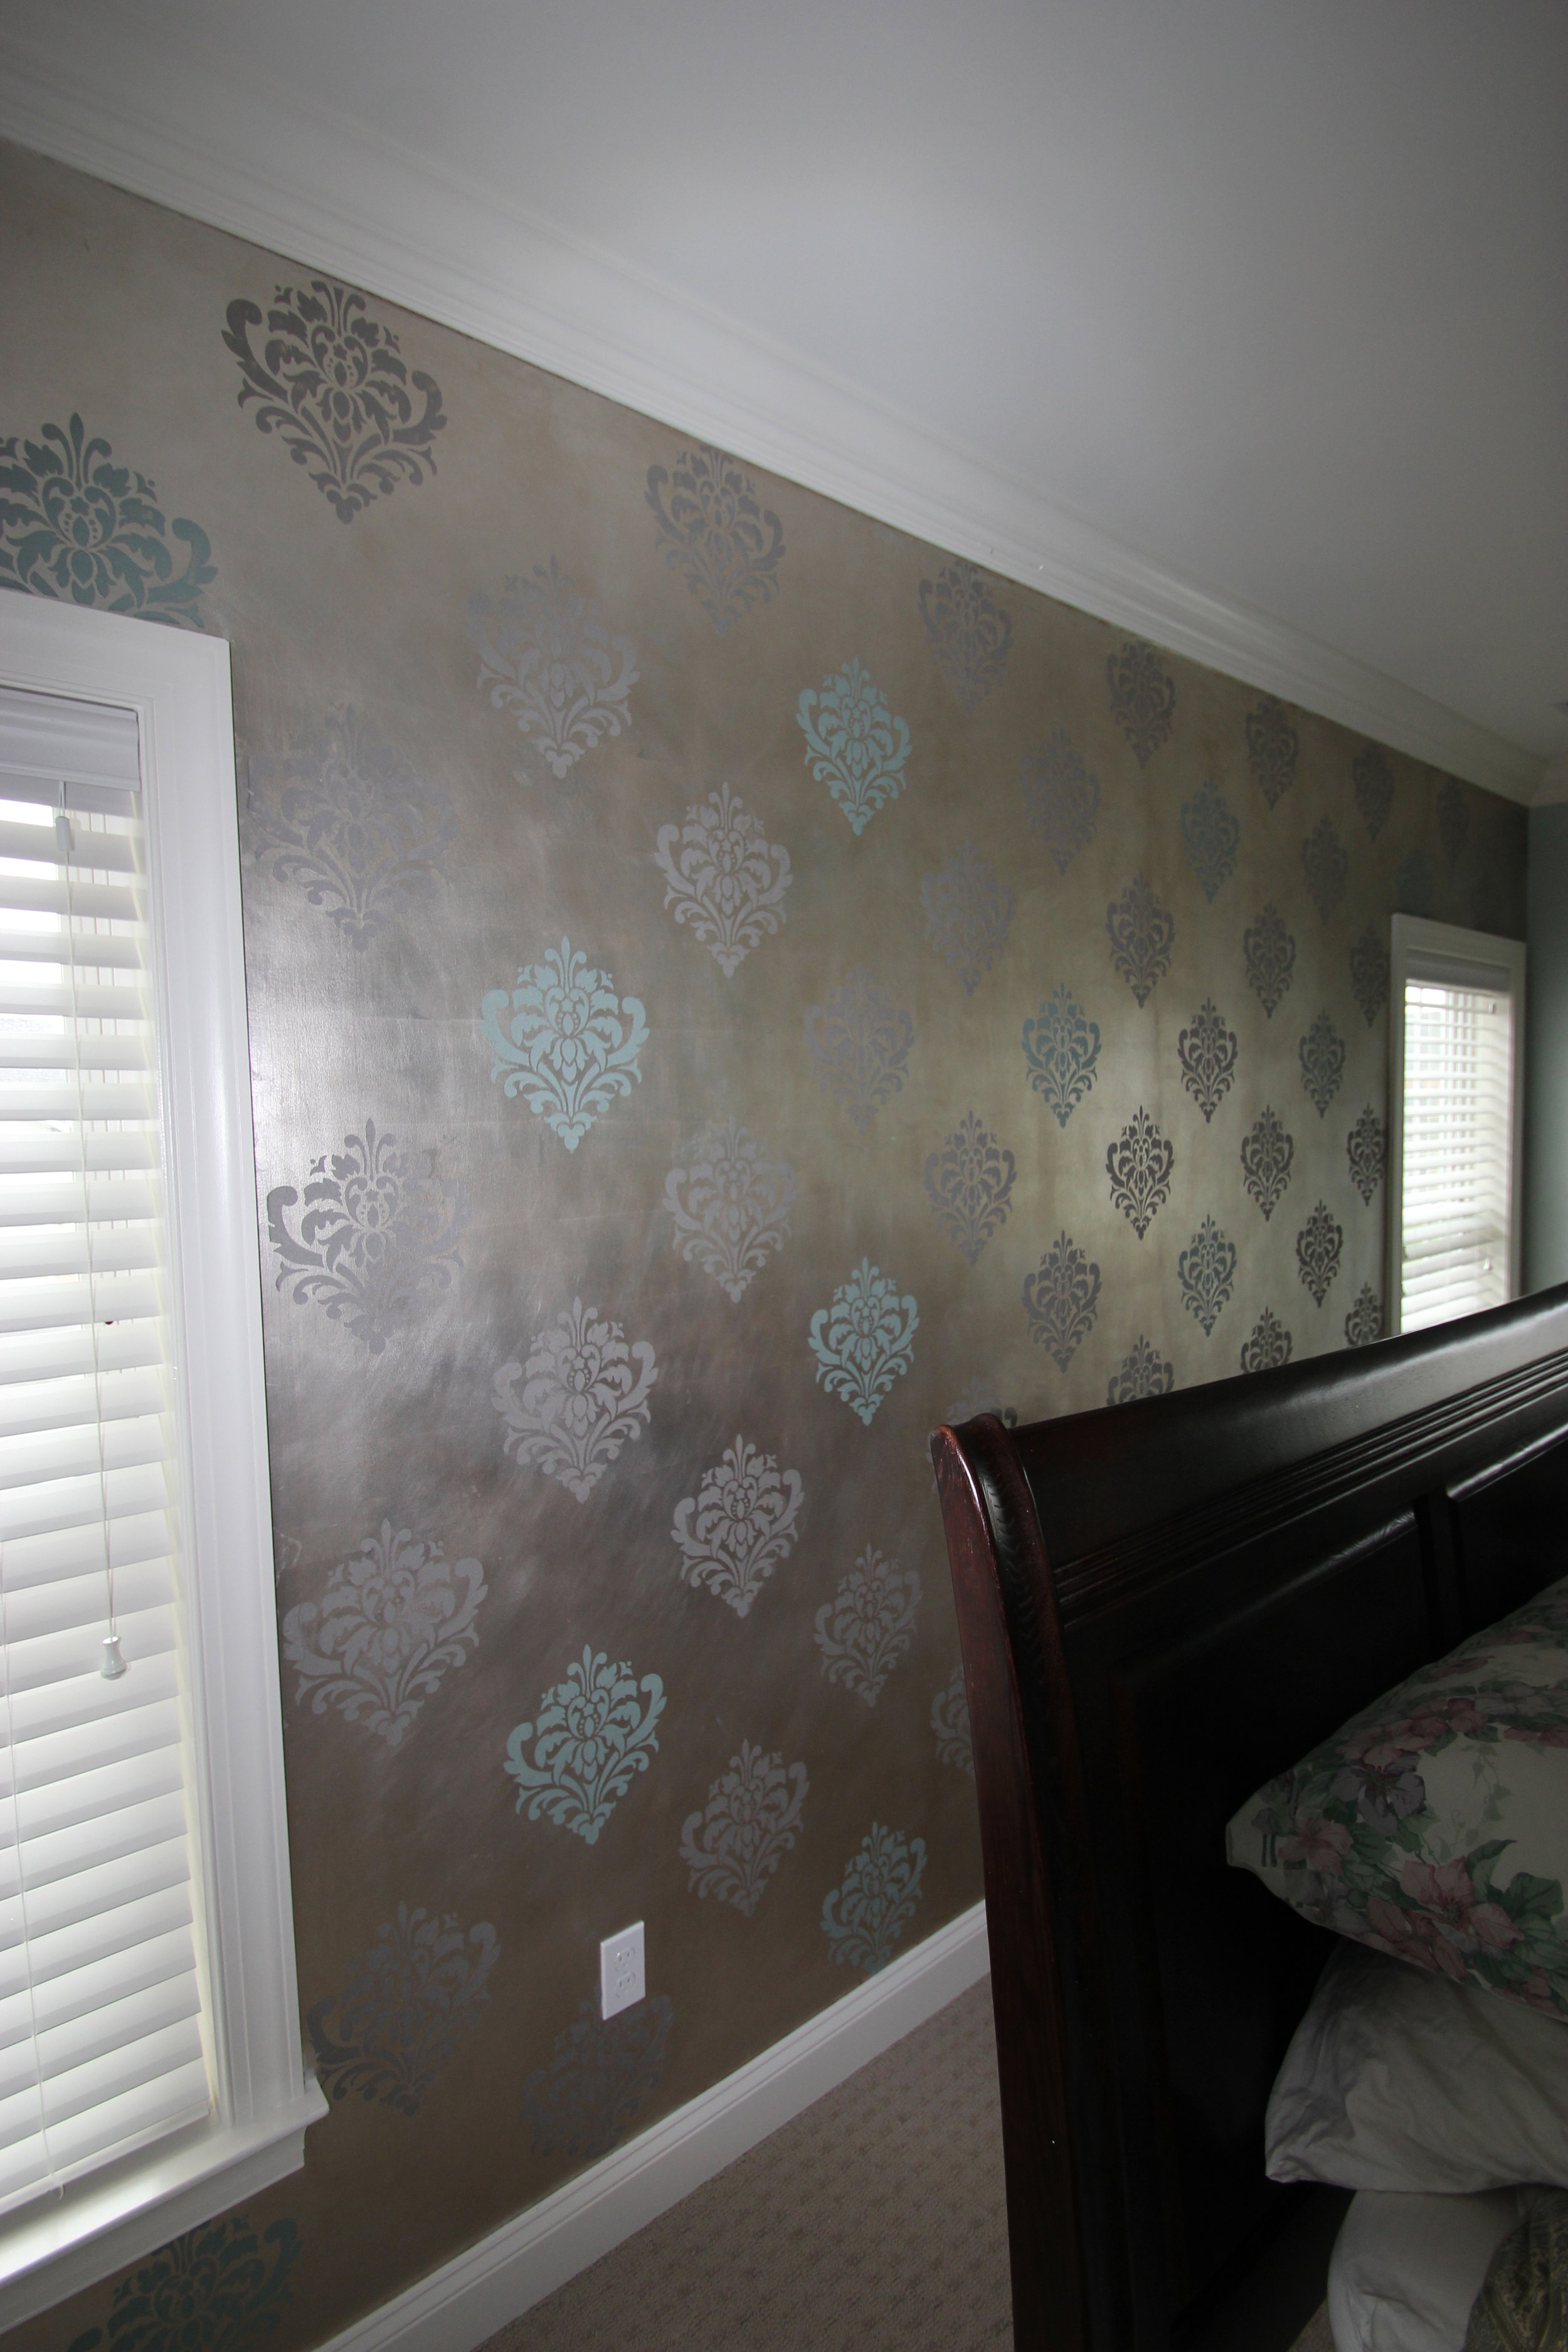
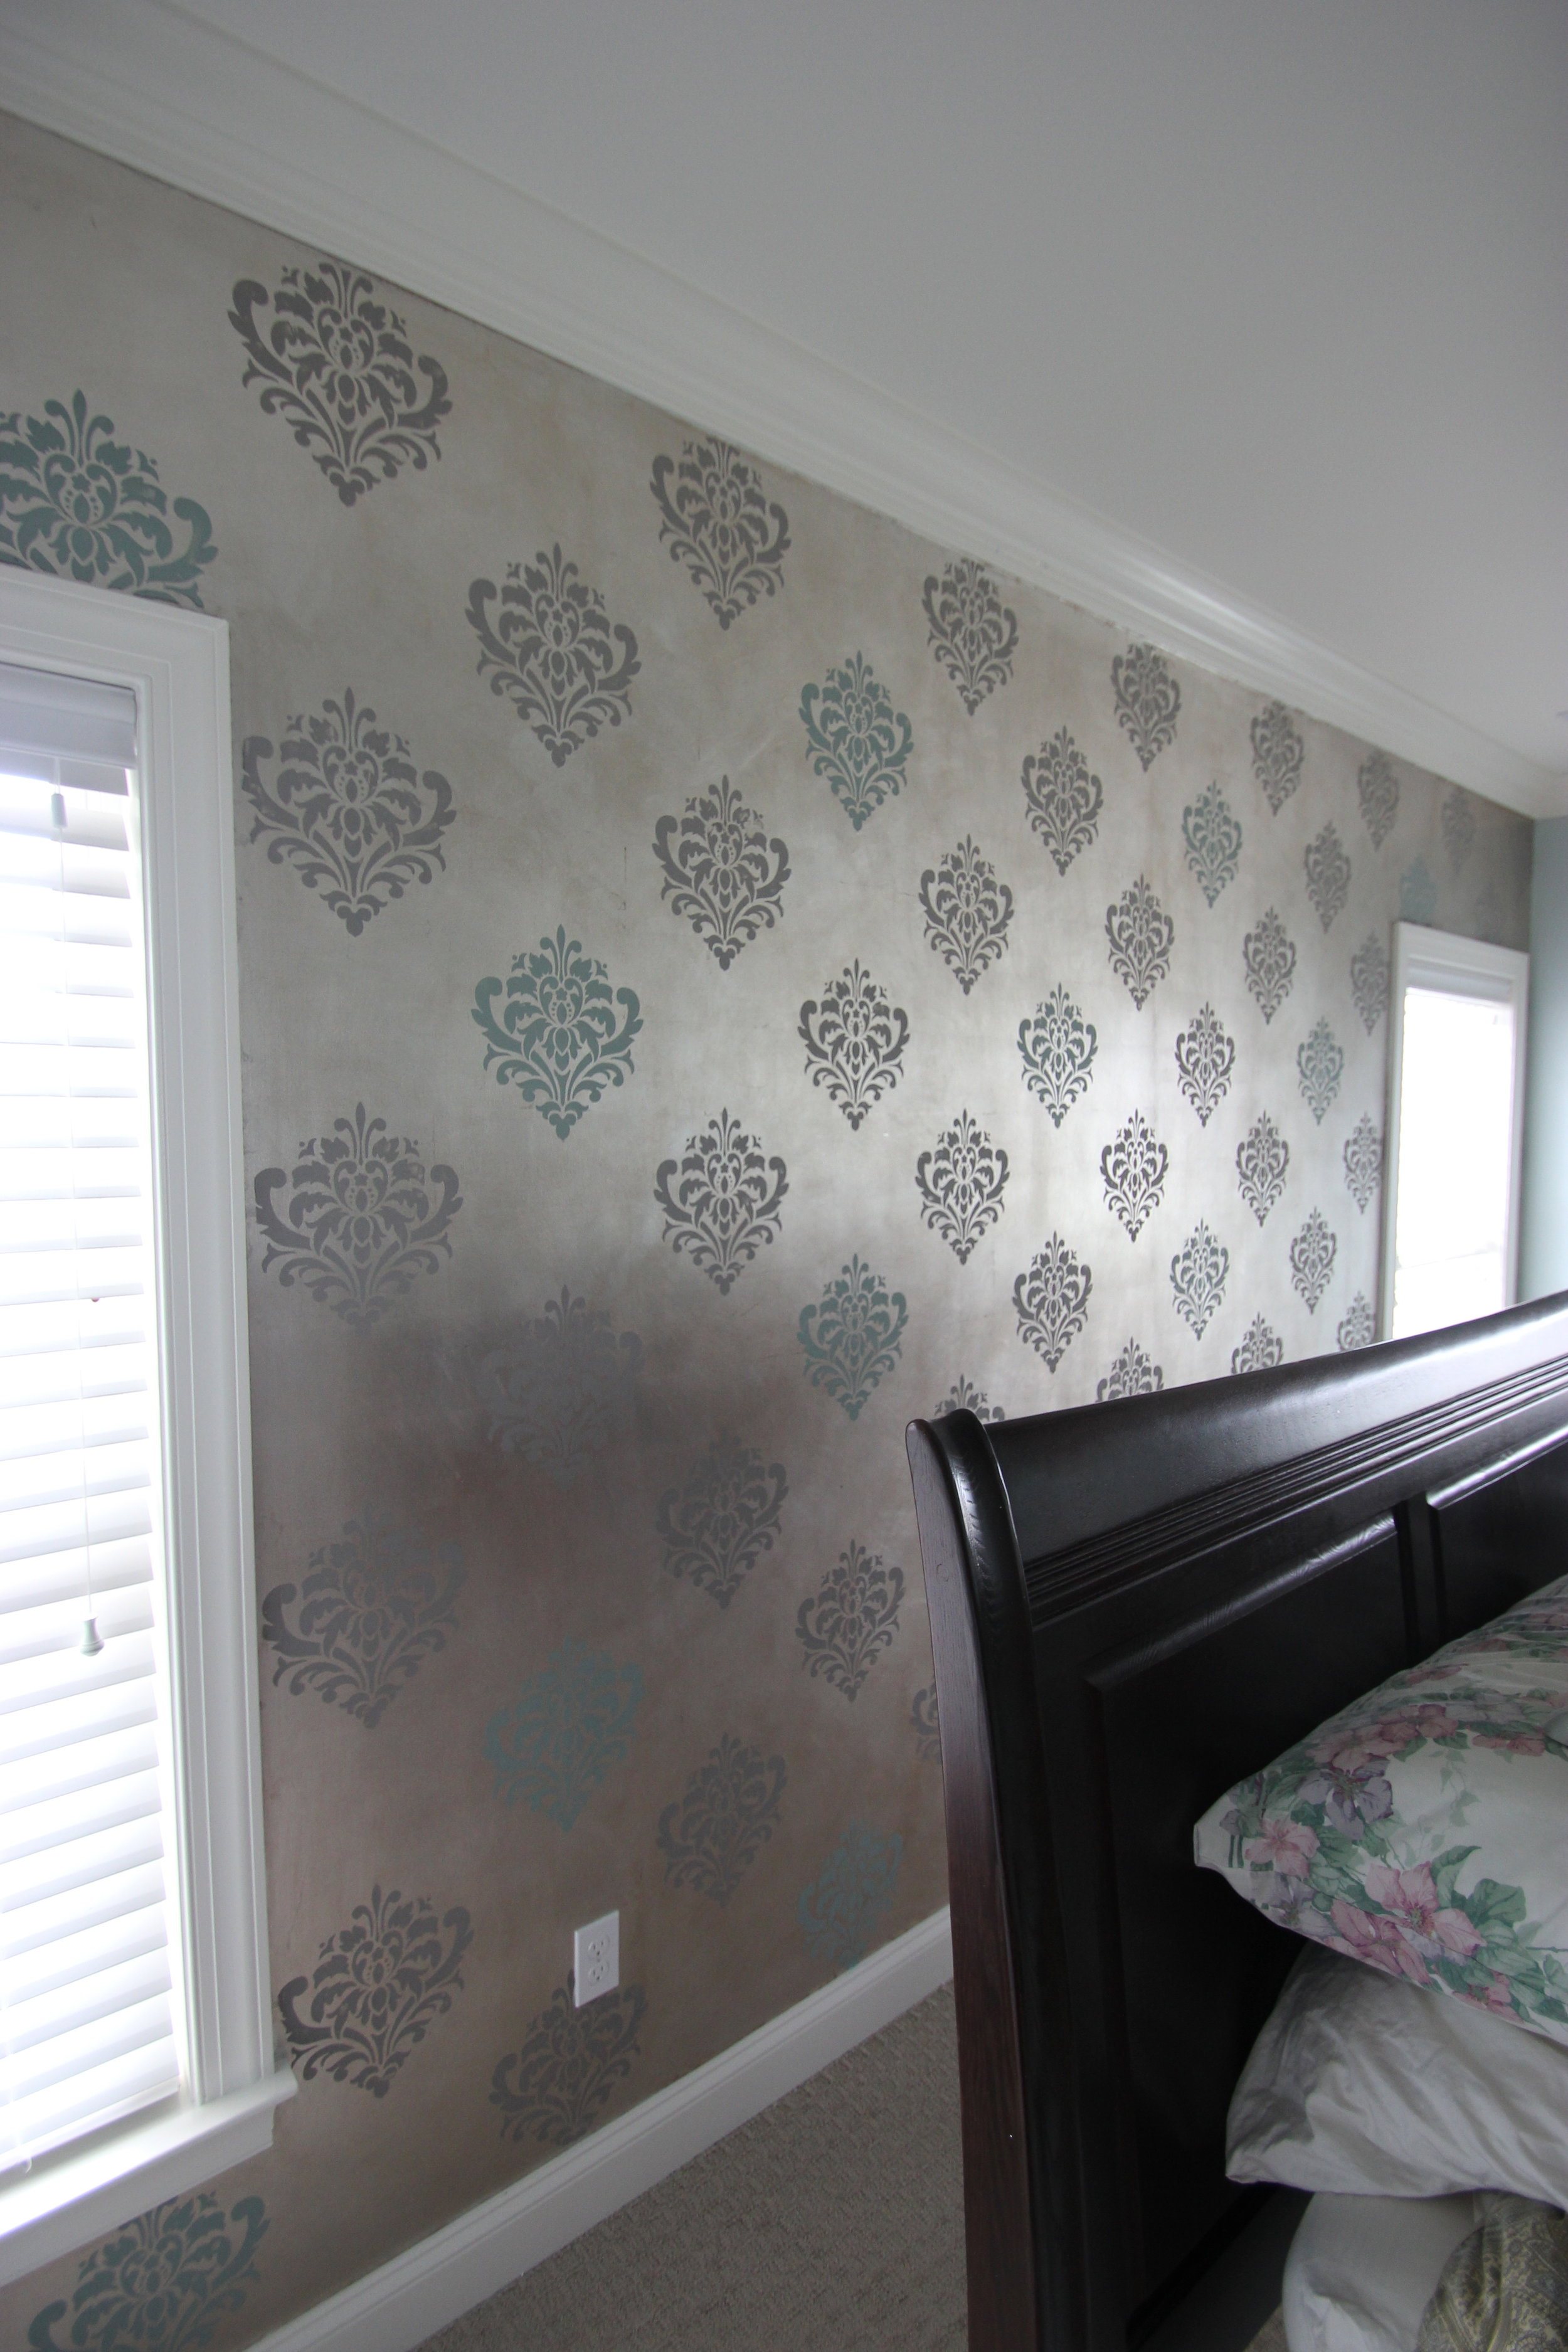
A few months ago I was contacted by designer Heidi Dripps to create a finish that was inspired by a wallpaper that the client loved.  The wallpaper was beautiful but there were certain things that didn't work for the client. One, the colorways weren't quite right. And two, the composition wasn't just so. The designer and client wanted me to recreate the feel of the contemporary imagery but create more of a mural.

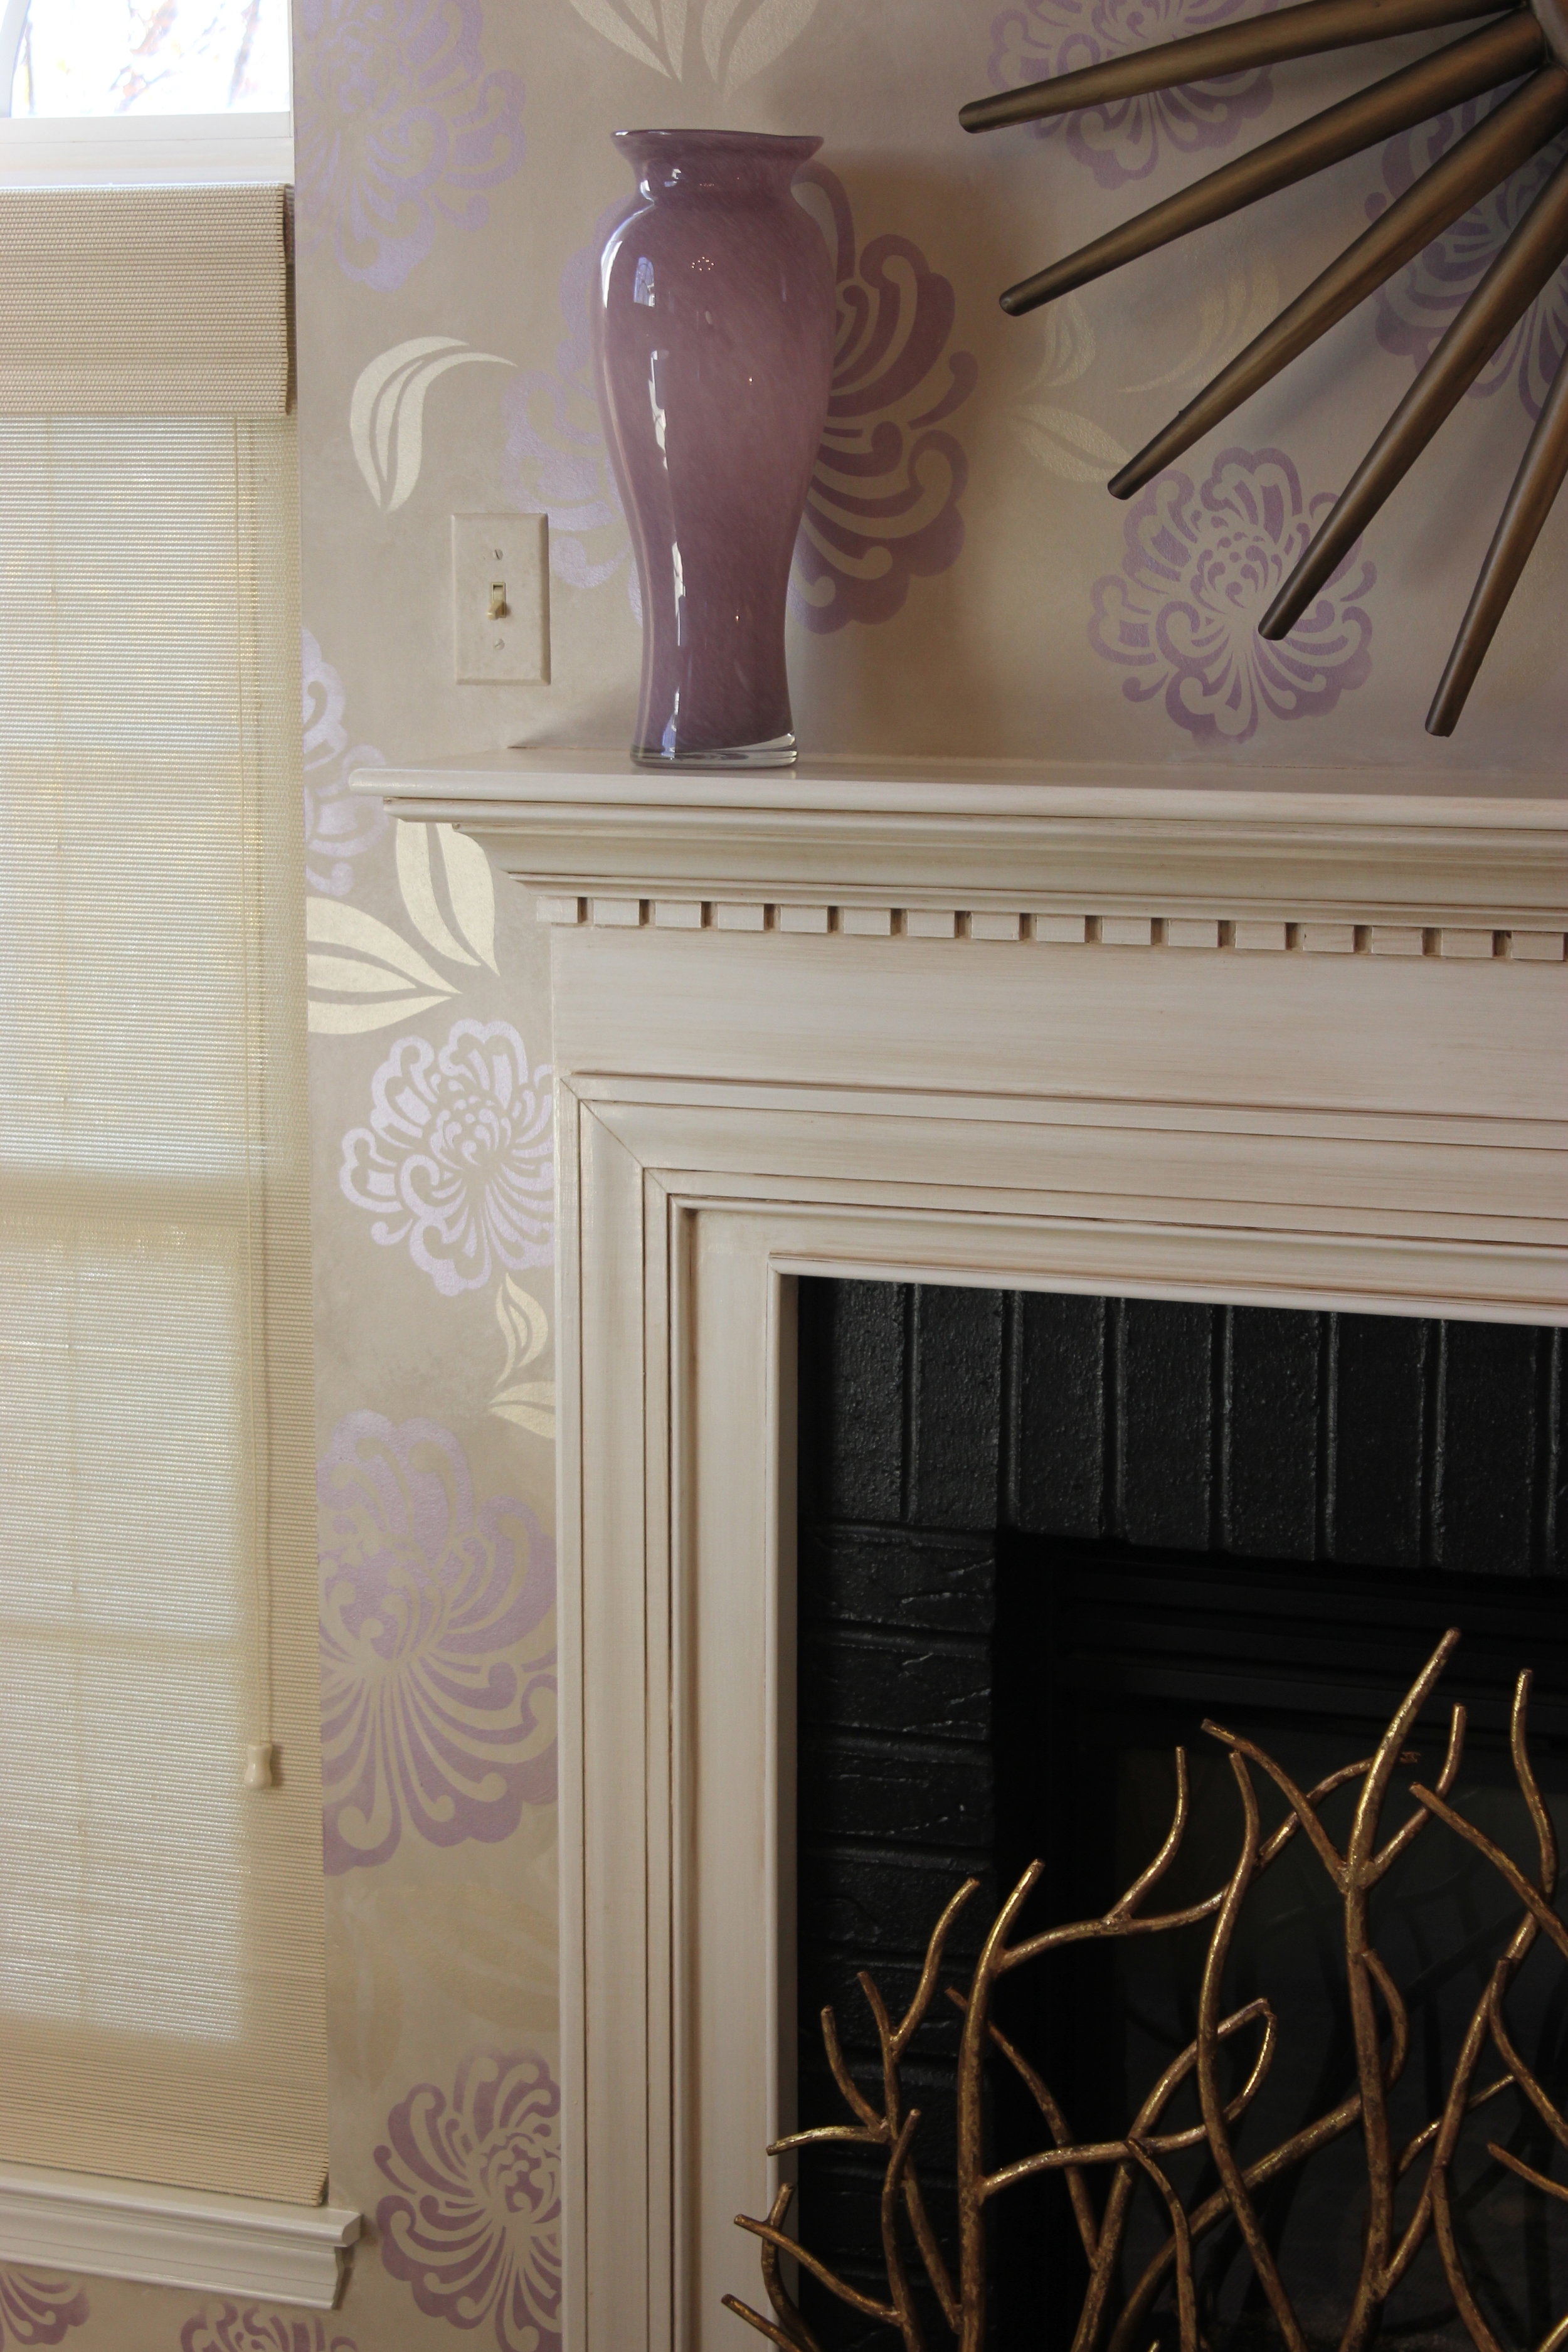
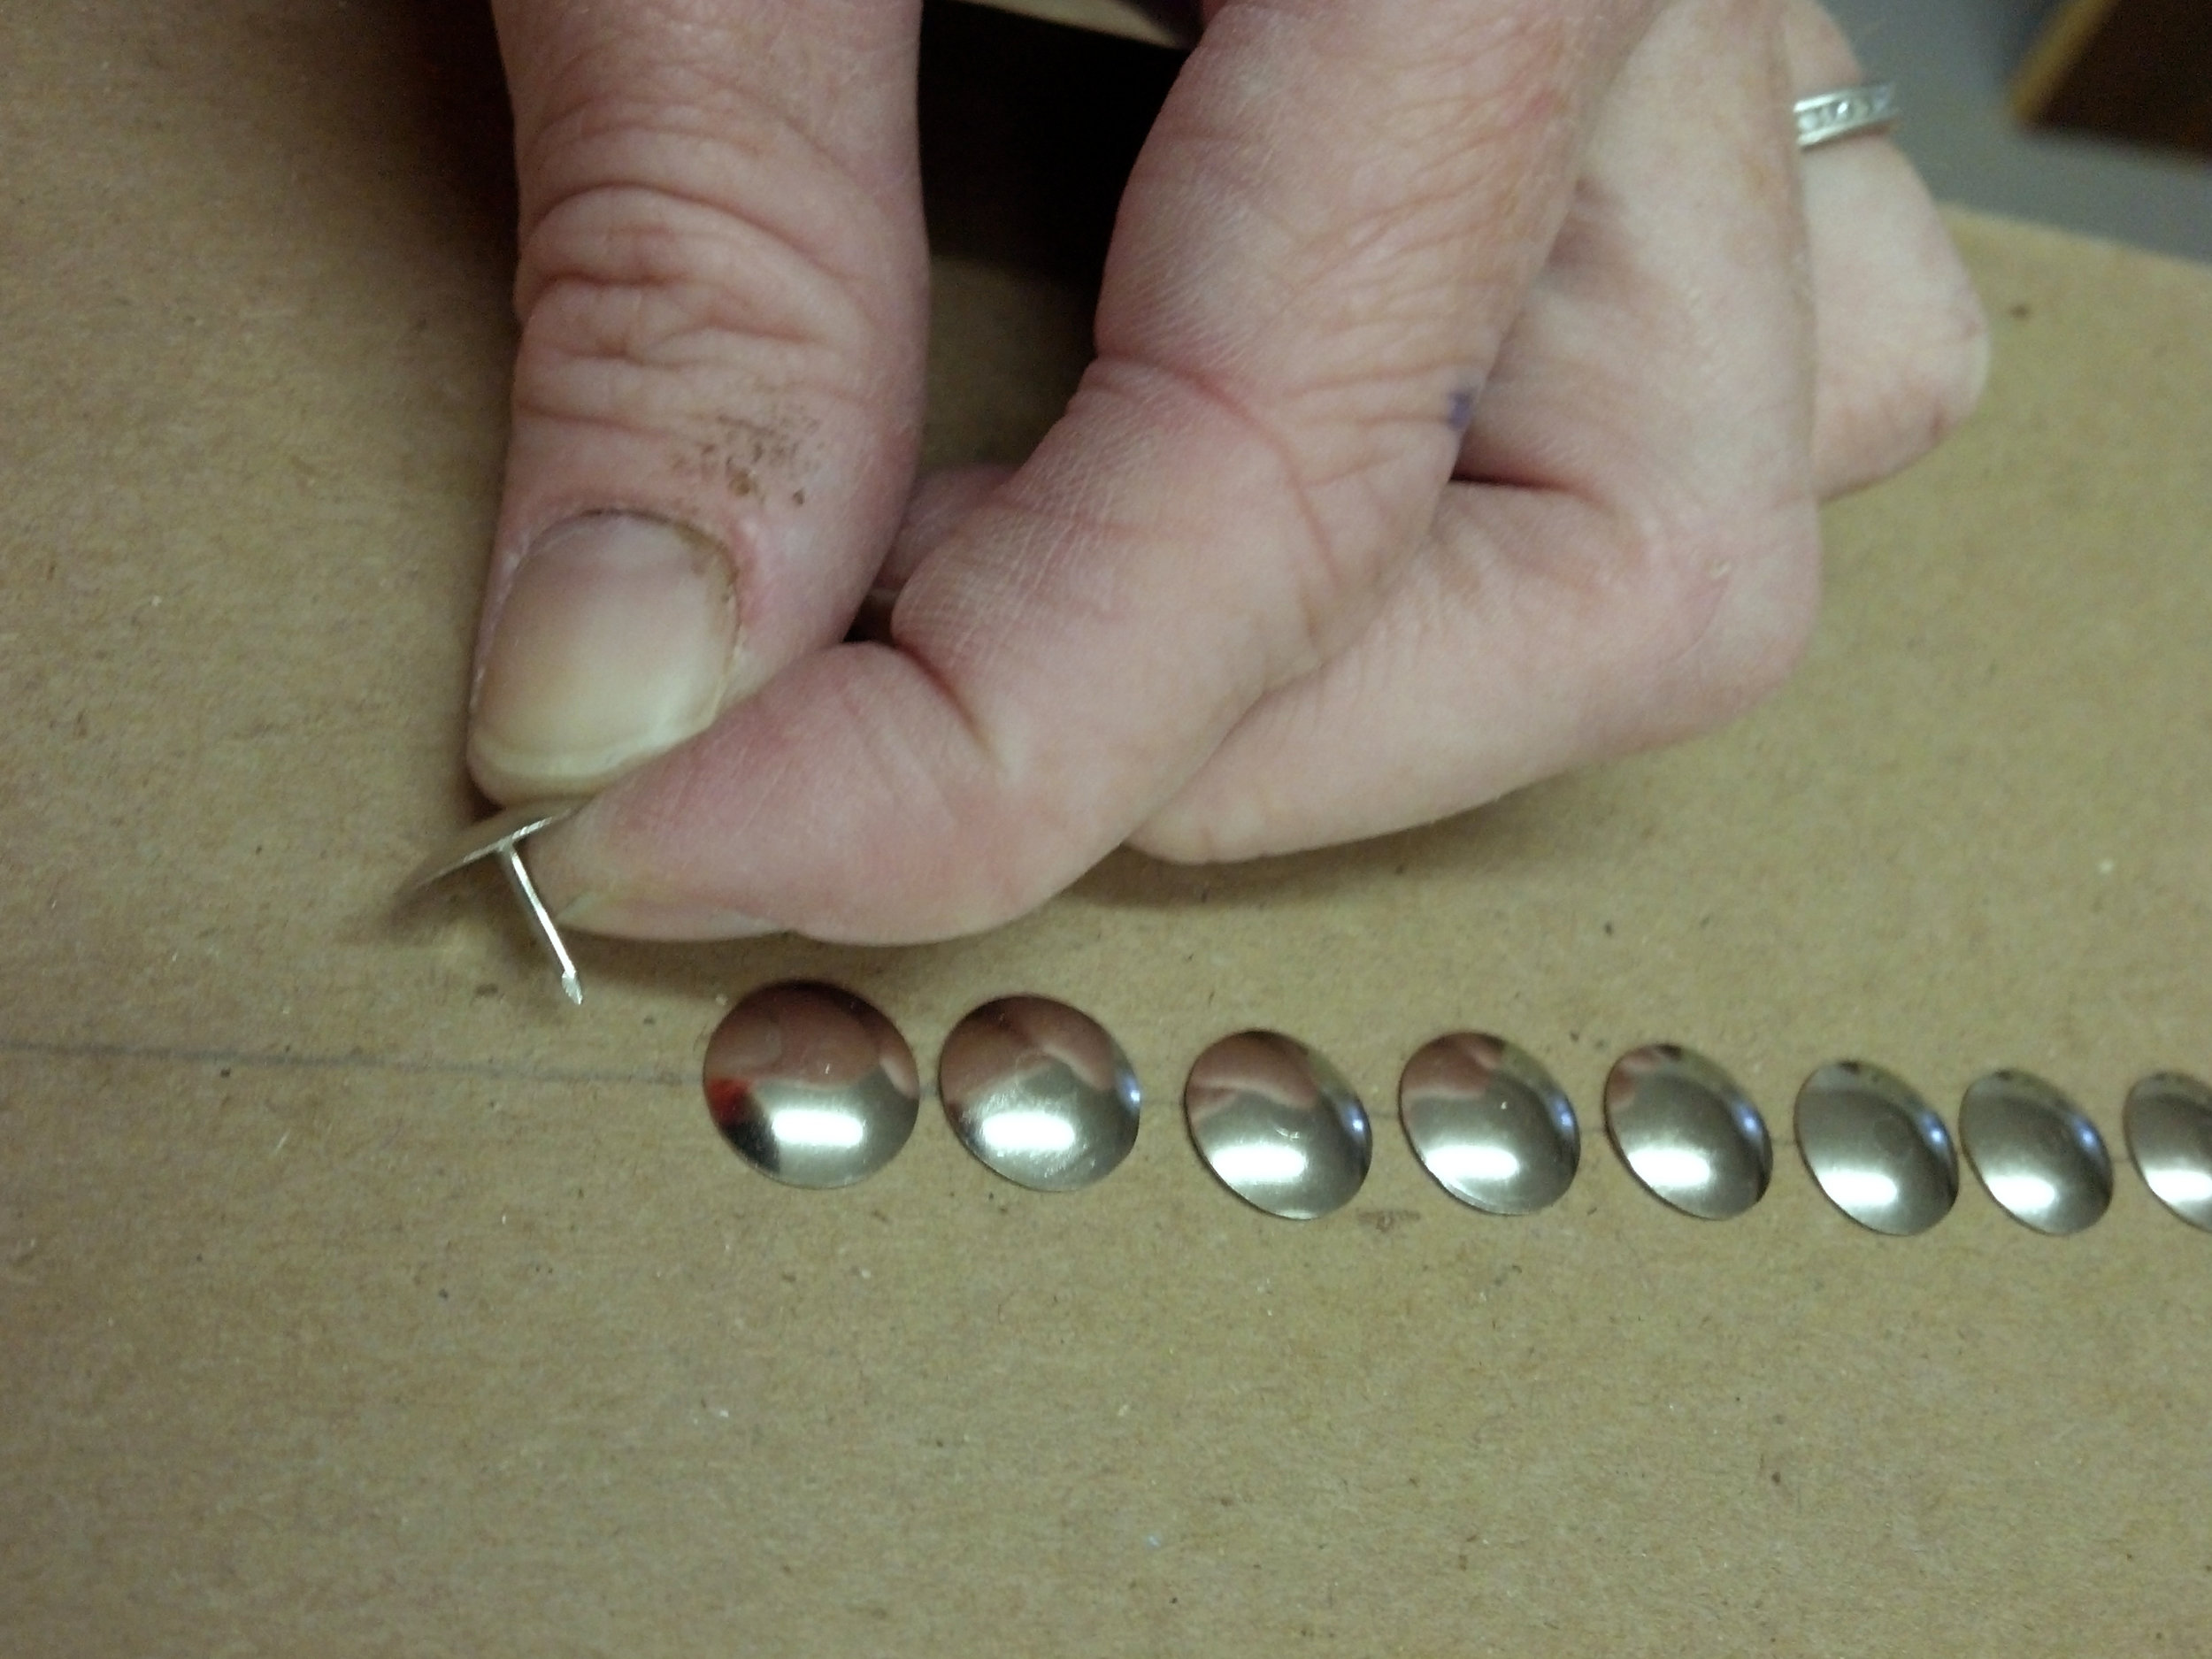
In keeping with the printed look I created stencils and masked out each branch so that I could stencil them also.

2012-08-21_09-34-52_936

2012-08-21_09-34-52_936

The final look is traditional and contemporary at the same time.

IMG_1637

IMG_1637

IMG_1627

IMG_1627

An example of traditional chinoiserie:(‘Badminton’ design in standard design colours on Mocha Williamsburg. Photography by Fritz von der Schulenburg.Interior design by Bunny Williams.)

degournay

degournay

Source:http://www.degournay.com/

Definition of Chinoiserie (pronounced shin-wa-sur-ee) courtesy of wikipedia: a French term, signifying "Chinese-esque", refers to a recurring theme in European artistic styles since the seventeenth century, which reflect Chinese artistic influences. It is characterized by the use of fanciful imagery of an imaginary China, by asymmetry in format and whimsical contrasts of scale, and by the attempts to imitate Chinese porcelain and the use of lacquer-like materials and decoration.

Pretty in Pink and Purple

A repeat client of mine who originally met me through the Ellicott City Decorator Showhouses, asked me for my recommendation for a designer to help redecorate her family room.  Of course I recommended Paula Henry of Simply Put Interiors, the designer with whom I've painted countless Decorator Showhouses.  Paula transformed her family room into a jaw dropping gorgeous pink and purple Hollywood Regency-esque retreat! Before: (I had recently glazed the fireplace about 3 months ago...)

IMG_0907

IMG_0907

And after...POW!

IMG_1917

IMG_1917

A close up of the fireplace I redid and the wall with the custom cut stencils I made that reflect the fabric on the chairs:

IMG_1925

IMG_1925

A railing was replaced with a custom-built bookcase by Summerhill Cabinets.  I woodgrained the top in a marquetry design with a black inlay.  The client reads extensively and Paula thought it would be a great idea to have a place for her books.

Here's the before:

IMG_1894

IMG_1894

And After:

IMG_1908

IMG_1908

IMG_1910

IMG_1910

And...

A tiny little update on a very tedious project that I'm doing at my studio, getting ready for my Open House-Grand Opening-Partay!

2012-11-14_16-34-11_918

2012-11-14_16-34-11_918

(Nevermind the paint on my hands.)

Busy Bee

Its always a pleasure to have great clients.  Case in point with my latest completed project.  I was brought in by Jessica Barwick of Barwick Interiors to add some finishing touched to this recently completed home in Clarksville Maryland. Ceiling beams in the family room were woodgrained to match the entertainment center. Notice how I "mitered" the intersections. This added some architectural interest while allowing me to work in smaller sections.

IMG_1050

IMG_1050

IMG_0681

IMG_0681

Along with the ceiling, I woodgrained the fireplace. It was white before:

IMG_1057

IMG_1057

IMG_1056

IMG_1056

IMG_1059

IMG_1059

Next was the "adult" powder bathroom (the kids are supposed to use the one in the mudroom ;) ) Here I created a dimensional background with metallic and regular paints then added a stencil by Royal Designs over top.  The stencil did not have registration marks so I created a template for even spacing to create the look of wallpaper. This is a great way to get the EXACT colors and pattern that you want.

IMG_1042

IMG_1042

The dining room got a Modello stencil and a silvery blue finish was custom mixed to go with the walls. (My work was published in their book!) I also painted the dining room chairs that go with the set that she inherited from her mother. Ill post completed pictures once the room is finished.

IMG_1049

IMG_1049

Upstairs I created a focal wall in the Master Suite with silver leaf and the same stencil as the powder room. (She loved it that much!) I used metallic plaster custom tinted to match the wall color and a grey/taupe.

IMG_1031

IMG_1031

IMG_1036

IMG_1036

without the flash:

IMG_1037

IMG_1037

And finally, the kids each got a little something in their rooms. A pearly white and grey chandelier stencil for the girl's room:

IMG_1070

IMG_1070

And a tonal blue stripe and newly painted desk:

IMG_1079

IMG_1079

THANK YOU! To my awesome clients and to Jessica for bringing me in.

Up next:

I just started a project for another awesome client whom I've worked for previously.  I am doing several paintings throughout the home and this first one will be in the foyer. It will end up looking like stone.

2012-06-05_17-14-39_233

2012-06-05_17-14-39_233

Stay tuned!

Signs of Summer

Hope everyone had a good Memorial Day weekend! Just finished this cool sign! I saw something somewhere I think on Pinterest that used flattened spoons as coat hooks.  I thought I could use some of my random spoons that have mysteriously appeared in my kitchen drawer.  I used some scrap wood, ropes, paint, and old letterpress type I had lying around.   Dolled it up with some Annie Sloan Chalk Paint and Voila! I think its purdy neat.  Of course Mikey's first comment was "Will it hold a coat?" Always the left brain of the operation.  I guess I could use some heftier nails and anchored it to the wall better if I were to use it. I think it looks neat!

IMG_1096

IMG_1096

This sign was a present for my Mother in Law who has a place at the beach.  I drew up the design and again used some leftover boards from another project.  I also used ASCP but this time waxed it for durability.  It could hang outdoors (under a porch).

IMG_0534

IMG_0534

And of course, you can always request one for yourself! The Coat Rack is $75 and the Beach Sign is $150.

Happy Summer!

Proceed Workshop

Here's the class description and images of the boards that will be featured.  There are two more surprise boards to be revealed the day of the class!

PROCEED Product Line Overview with Simple, Money Making Techniques

guided by Lori Wilson, Product Application Specialist, CSA

In a one day workshop, Lori Wilson will guide your group through the PROCEED product line developed by Golden Artist Colors, Inc. in collaboration with professional decorative painters.  Understanding the PROCEED "toolkit" concept as well as answering GOLDEN material questions is emphasized.  The techniques included represent current design and color trends and will be discussed in a larger context of interior decorating.

Calling all Decorative Artists!

Budeke's and Greater Maryland Decorative Artists Guild is hosting Lori Wilson from Golden Artist Colors for a workshop on the Proceed Professional  Decorative Painting System.

Details of the workshop are below.  A description will be forthcoming.

Who: Budekes and GMDA

What: Proceed workshop

When: Wednesday June 13th from 9am to 4pm

Where: Howard County Center for the Arts, 8510 High Ridge Rd Ellicott City, MD 21043

Cost: $160.00

Supplies to Bring: 10 polystyrene boards preprimed with a cream/off white color, and IDAL supply list:

  • Notebook

  • Pens/Pencil

  • Sharpie

  • Ruler

  • Hangers with Clips

  • Assorted Artist Brushes

  • Assorted Chip Brushes

  • Assorted Stencil Brushes

  • Styrofoam Plates

  • Blue Tape/Masking Tape

  • Paper Towels

  • Sea Sponges

  • Box GLAD Press N Seal

RSVP: By June 6th to Dee Cunningham 410-707-9246, dee@deelitedesign.com

Hope to See You There!!!